Bubble Bar Adventures Part Deuce

I’m backkkkkkkk. Imagine me saying that in some sneaky creepy Chucky doll way. Or maybe I should have gone with vmak’s back alright! But you would only get the reference if you know the Backstreet Boys song that line comes from.

After my epic failure with the SoapQueen’s solid bubble bar recipe, I told myself that I am fully capable of making these bars. I have a freaking college degree. I can make bubble bars!

I set out to find another recipe to try.

My journey brought me to Bonnie’s recipe from the Good Earth Spa. Her recipe uses the same ingredients as the SoapQueen’s but in different ratios which works better for me. The other thing I like about her recipe that is it uses less Cream of Tartar which is one of the most expensive ingredients to the recipe.
image1Last time, my bubble bars failed because the amount of glycerin used. I didn’t really understand how glycerin could be the complete downfall of my bars until I did some research. Glycerin is a humectant which attracts and retains moisture in layman’s terms and explains the sweaty bubble bars. The outrageous amount of glycerin was busy soaking up all the moisture in the air and trapping it inside my bubble bars. That bastard!

With that all in mind, Bonnie’s recipe seemed like it would produce better results due to the higher amount of corn starch in the recipe. Corn starch helps absorb any moisture that may be drawn in by the glycerin.

I found her recipe on various forums and figured I would give it a whirl. You can watch her video/recipe here:

1/3 Cup Cornstarch
1/3 Cup Cream of Tartar
1 Cup Baking Soda
1 Cup- 1 1/2 Cups SLSA (Sodium lauryl sulfoacetate)
1 Tablespoon Tapioca Starch
1/3 Cup – 1/2 cup Vegetable Glycerine
1 Tablespoon Moisturizing Oil
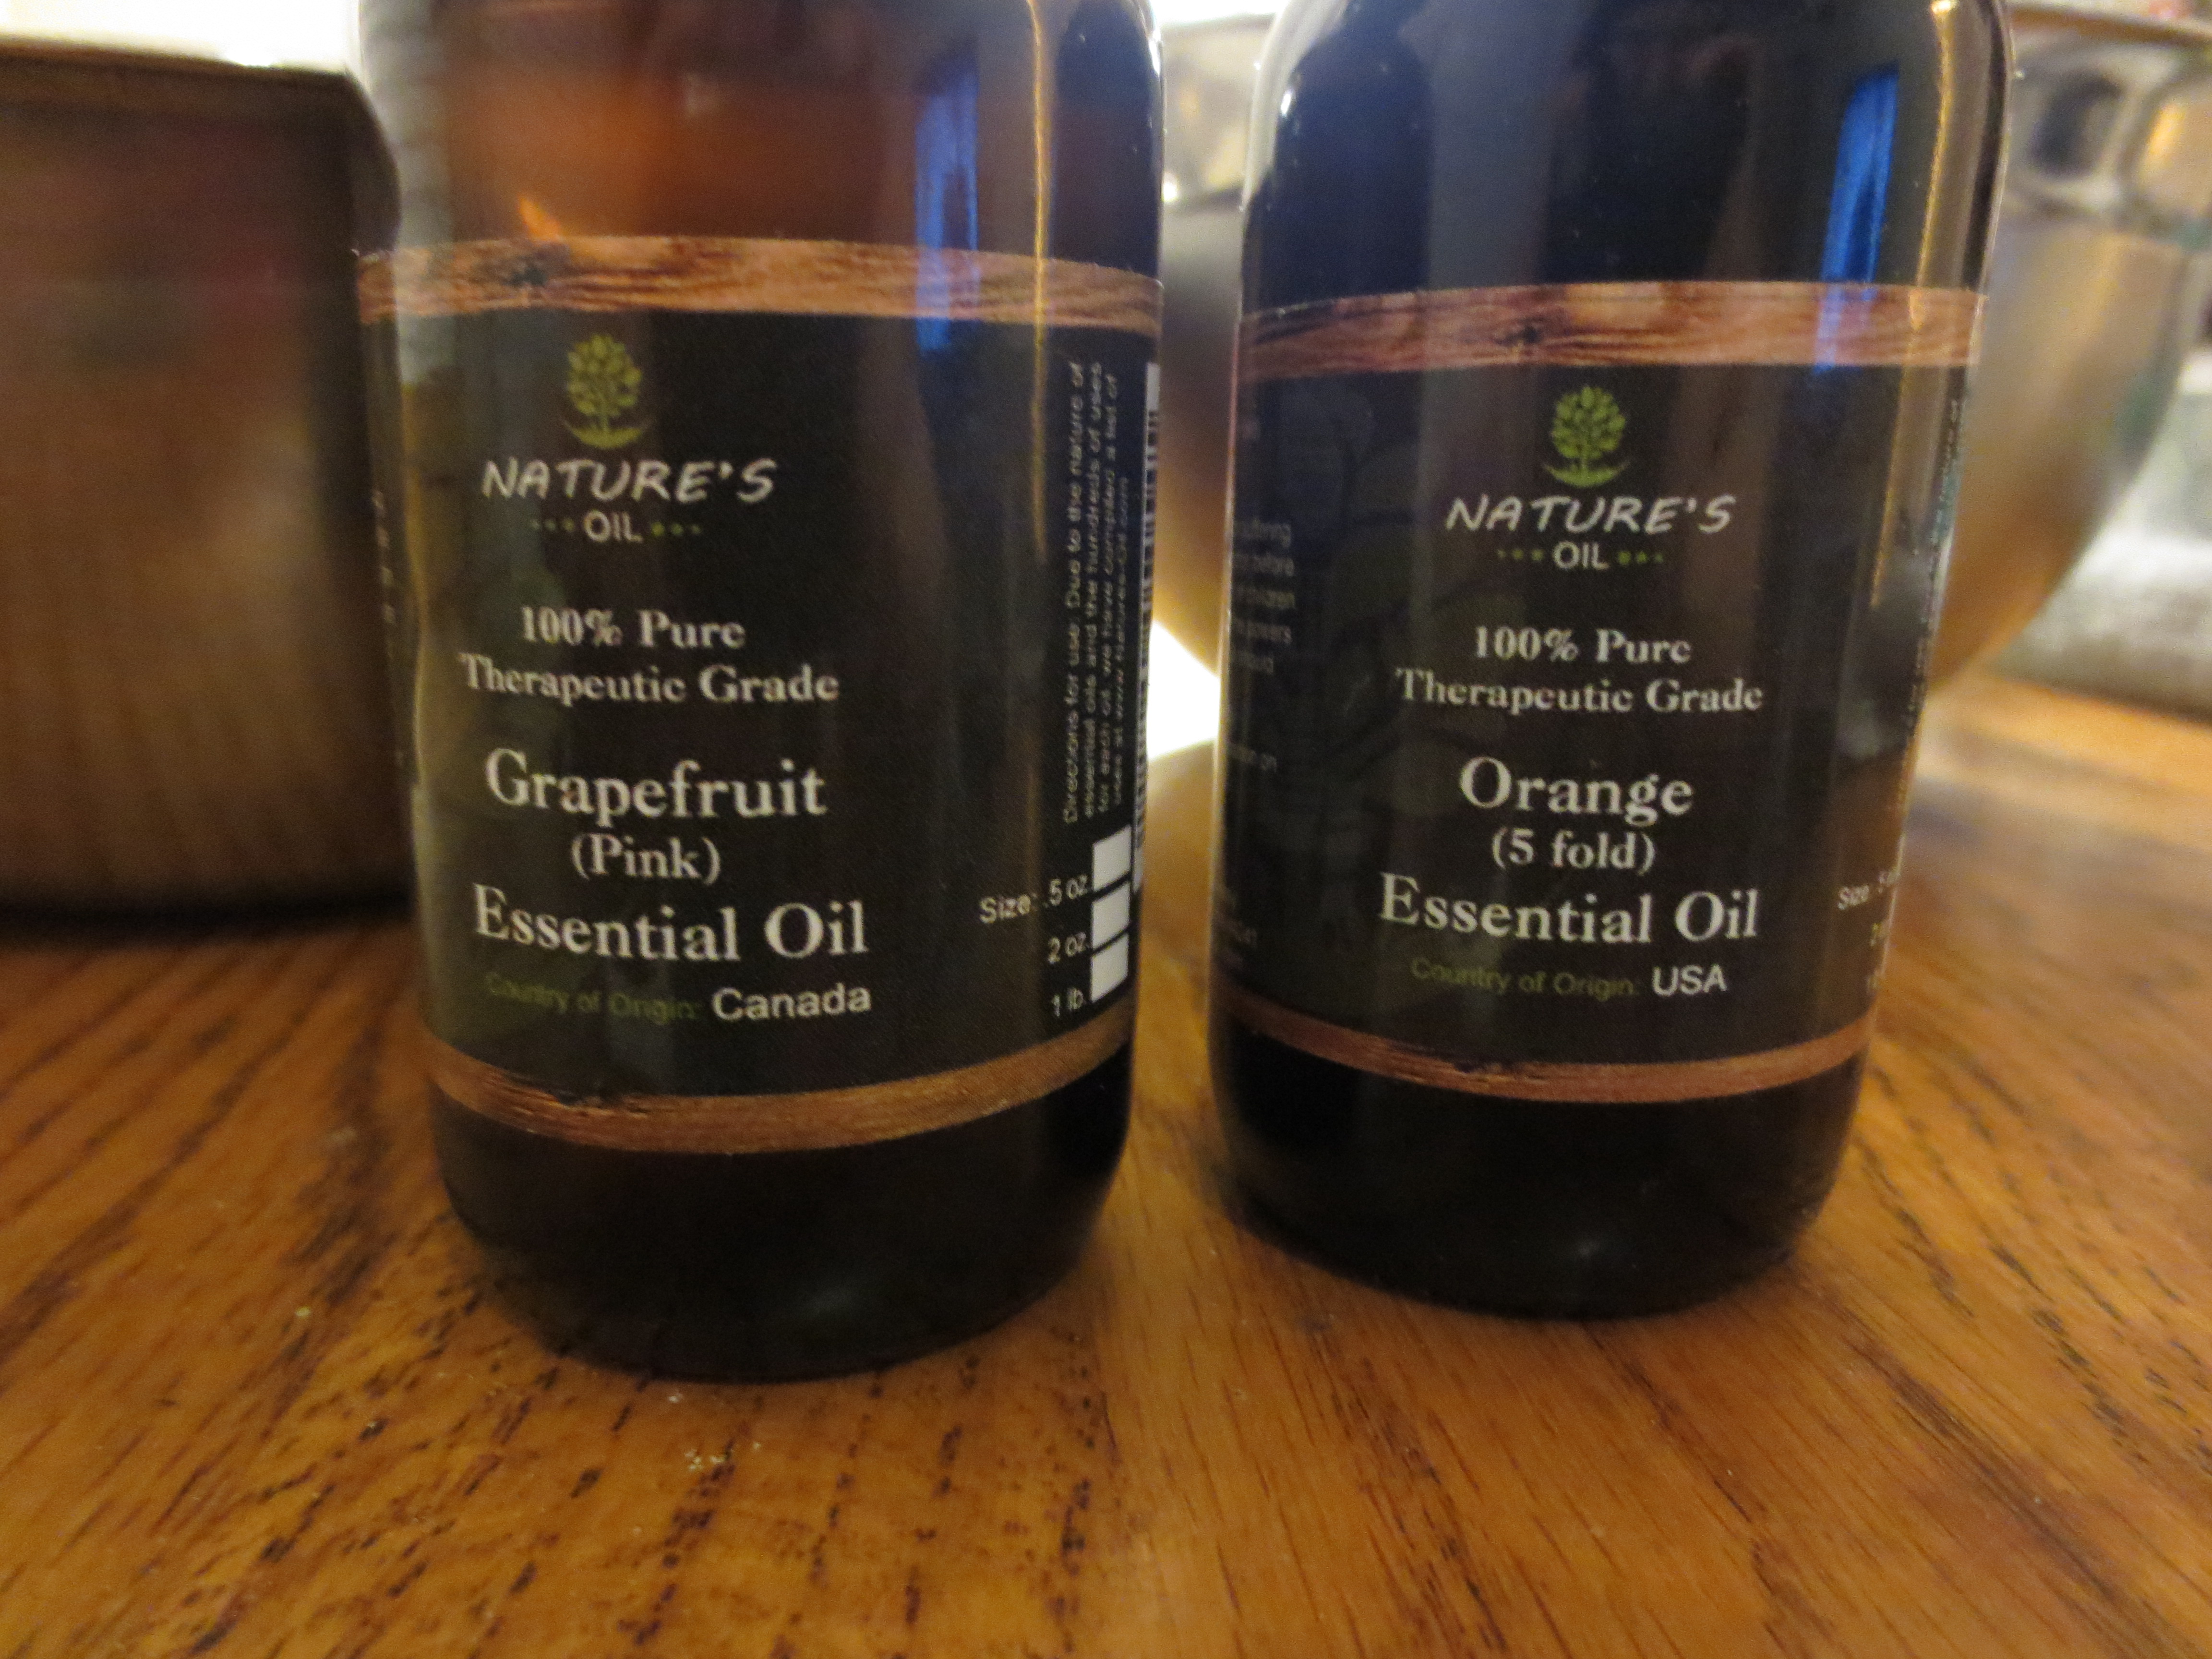
2 teaspoons, more or less Fragrance or Essential Oil
Colorant of your choice.

Before I started to bubble bar adventure part deuce, I watched the video just in case there were any special tricks or tips I should be aware of which actually helped a lot. The video gives you an idea of what kind of dough consistency to look for. I noticed on both the SoapQueen and Good Earth Spa recipes that there is no set amount of glycerin to be used and that there is a varying range, so seeing the texture in the video gives you an idea of what you want to achieve.

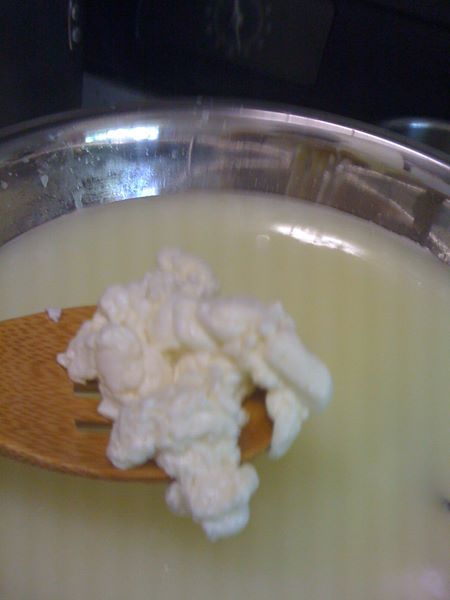
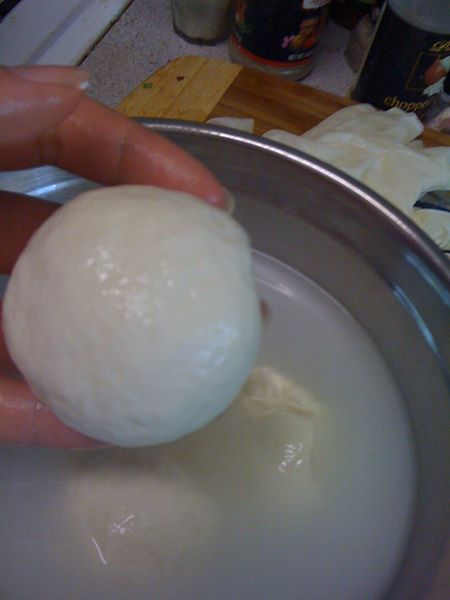
The steps are pretty simple. Mix your dry and wet ingredients separate and then together. Squish it all together until you get a dough ball that you can mold and cut up. Sounds fairly self-explanatory, right? It kinda is and kinda not.

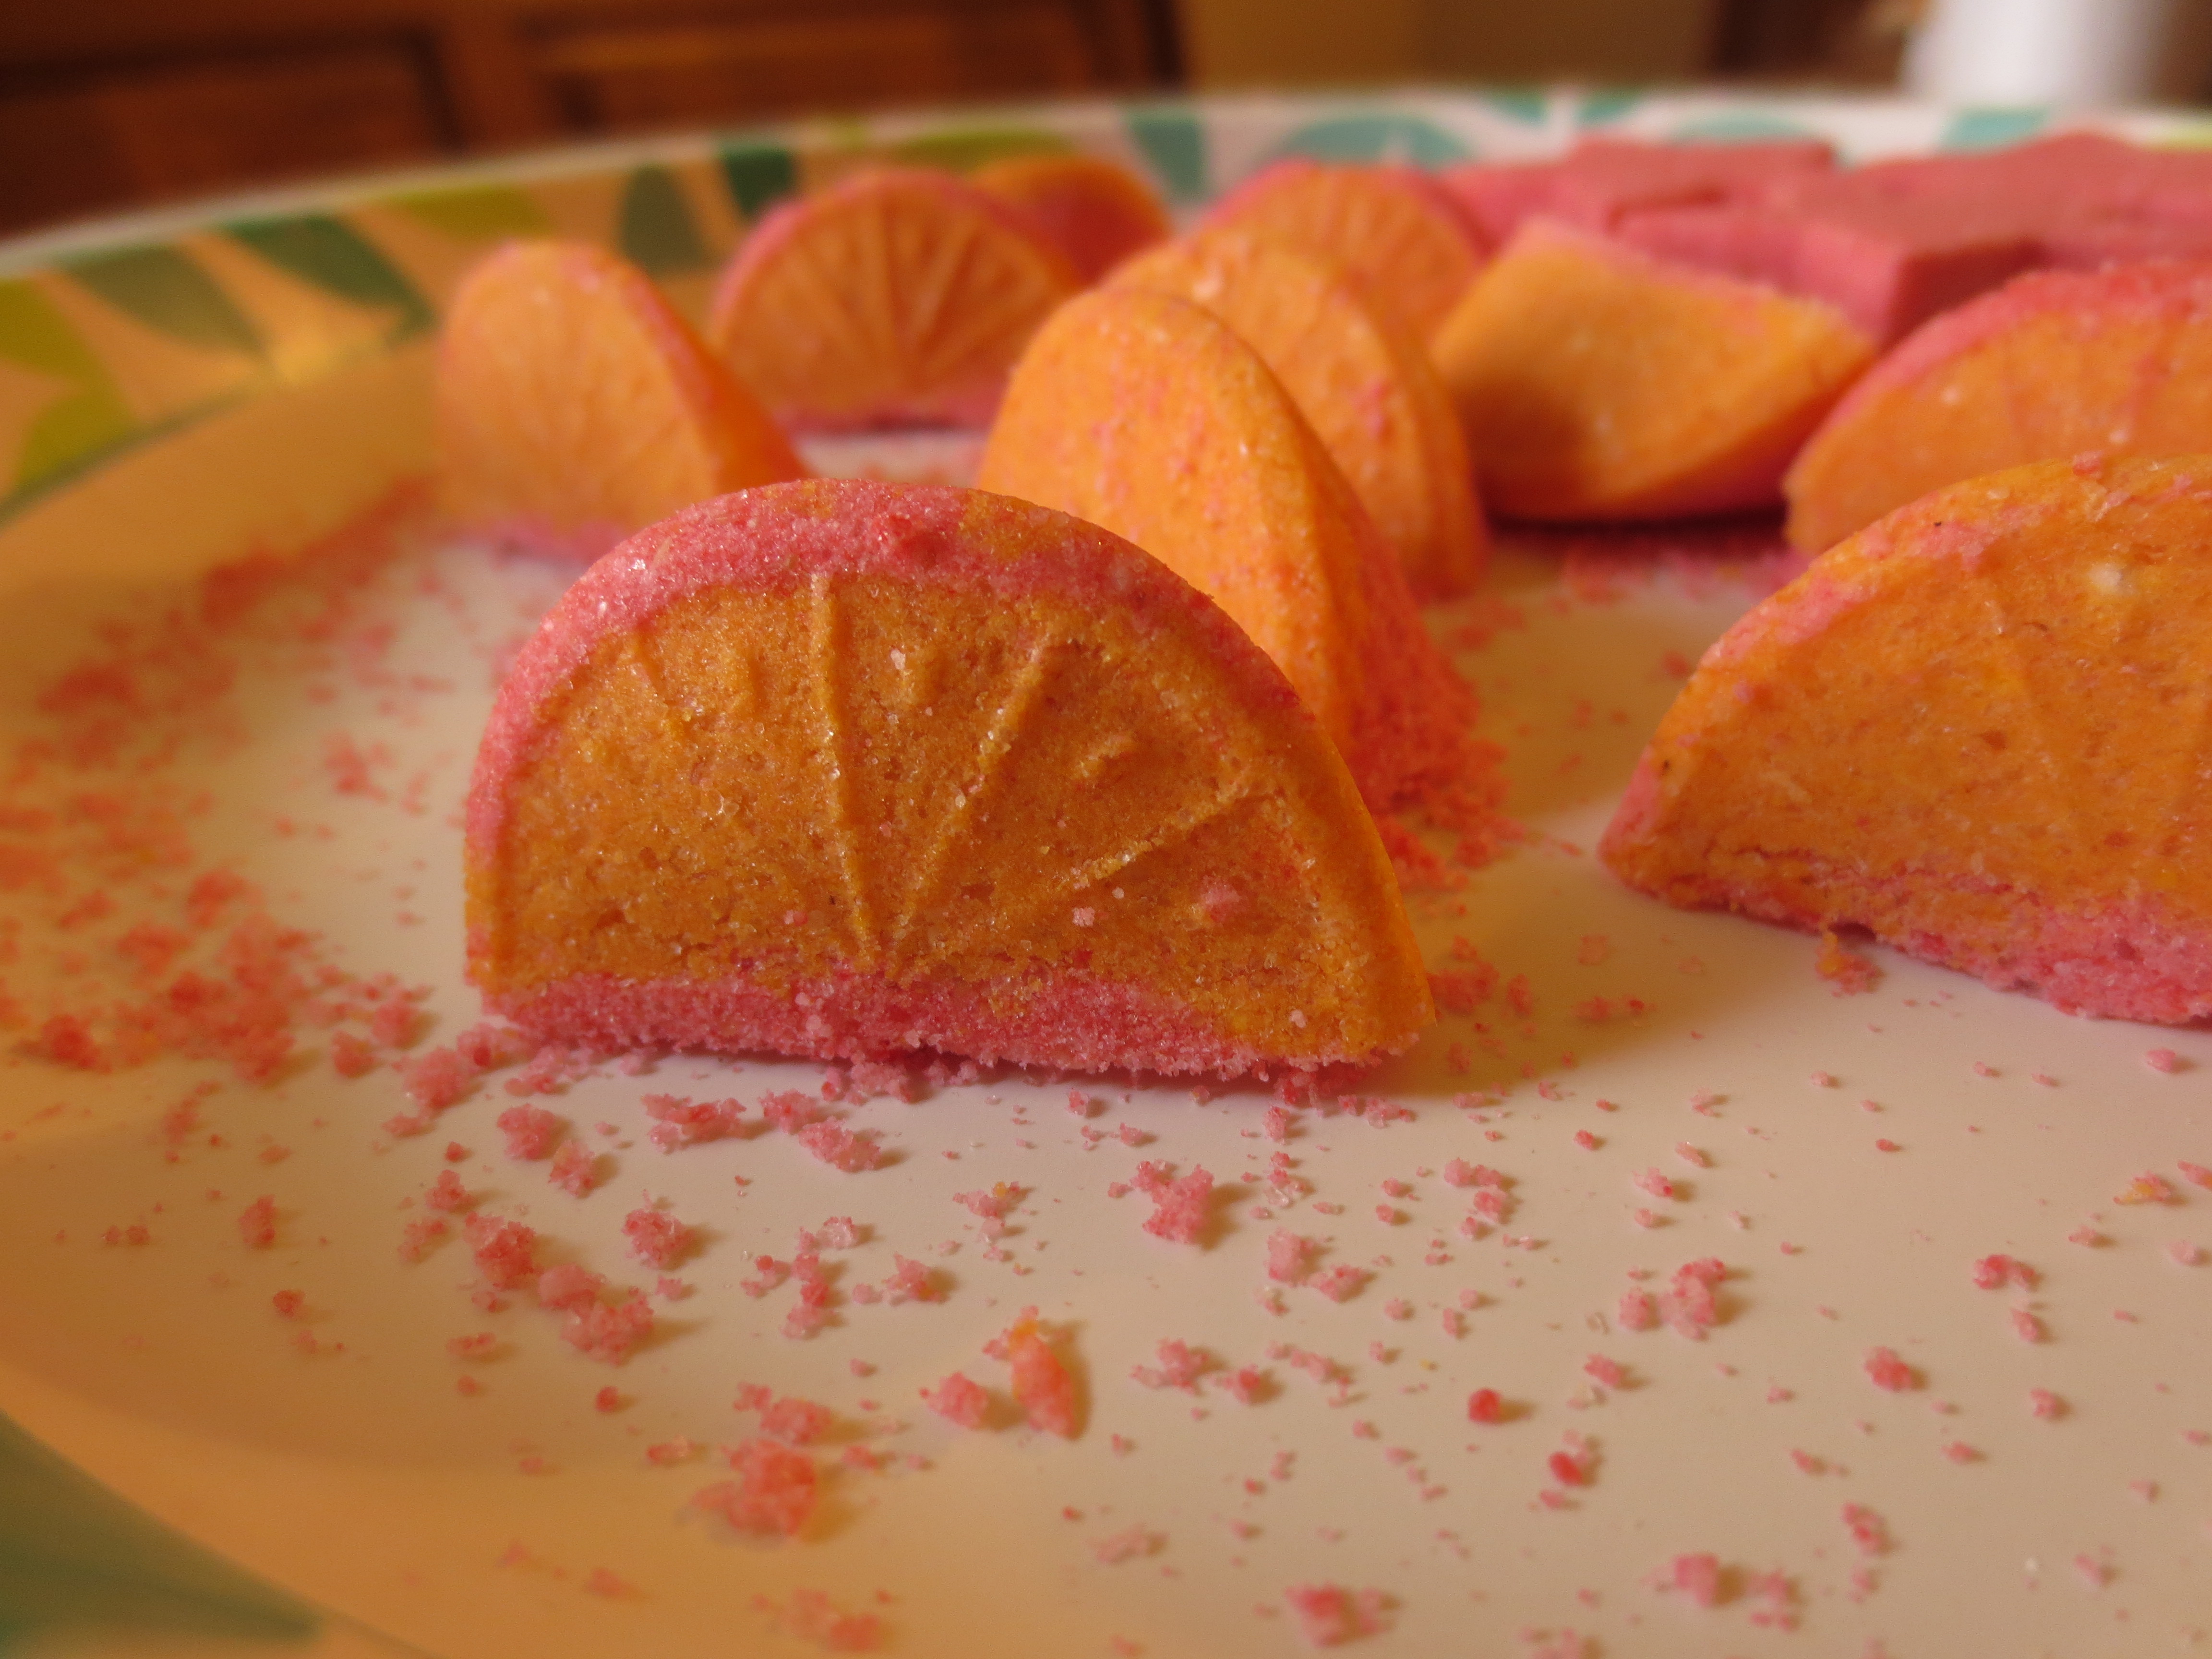
Since I had ruined my first batch with too much glycerin, I was pretty reluctant to just dump in the full amount of glycerin and hope for the best. I found the best way is to start off with a small amount of glycerin that is fairly close to the amount in the recipe and slowly add in more until you reach the desired texture. SoapQueen’s recipe seemed to look for a wetter, squishier dough while Bonnie’s appeared more crumbly. Personally, I prefer the crumblier dough from Bonnie’s recipe. It’s moldable and you can rest assured that the amount of glycerin isn’t too high.

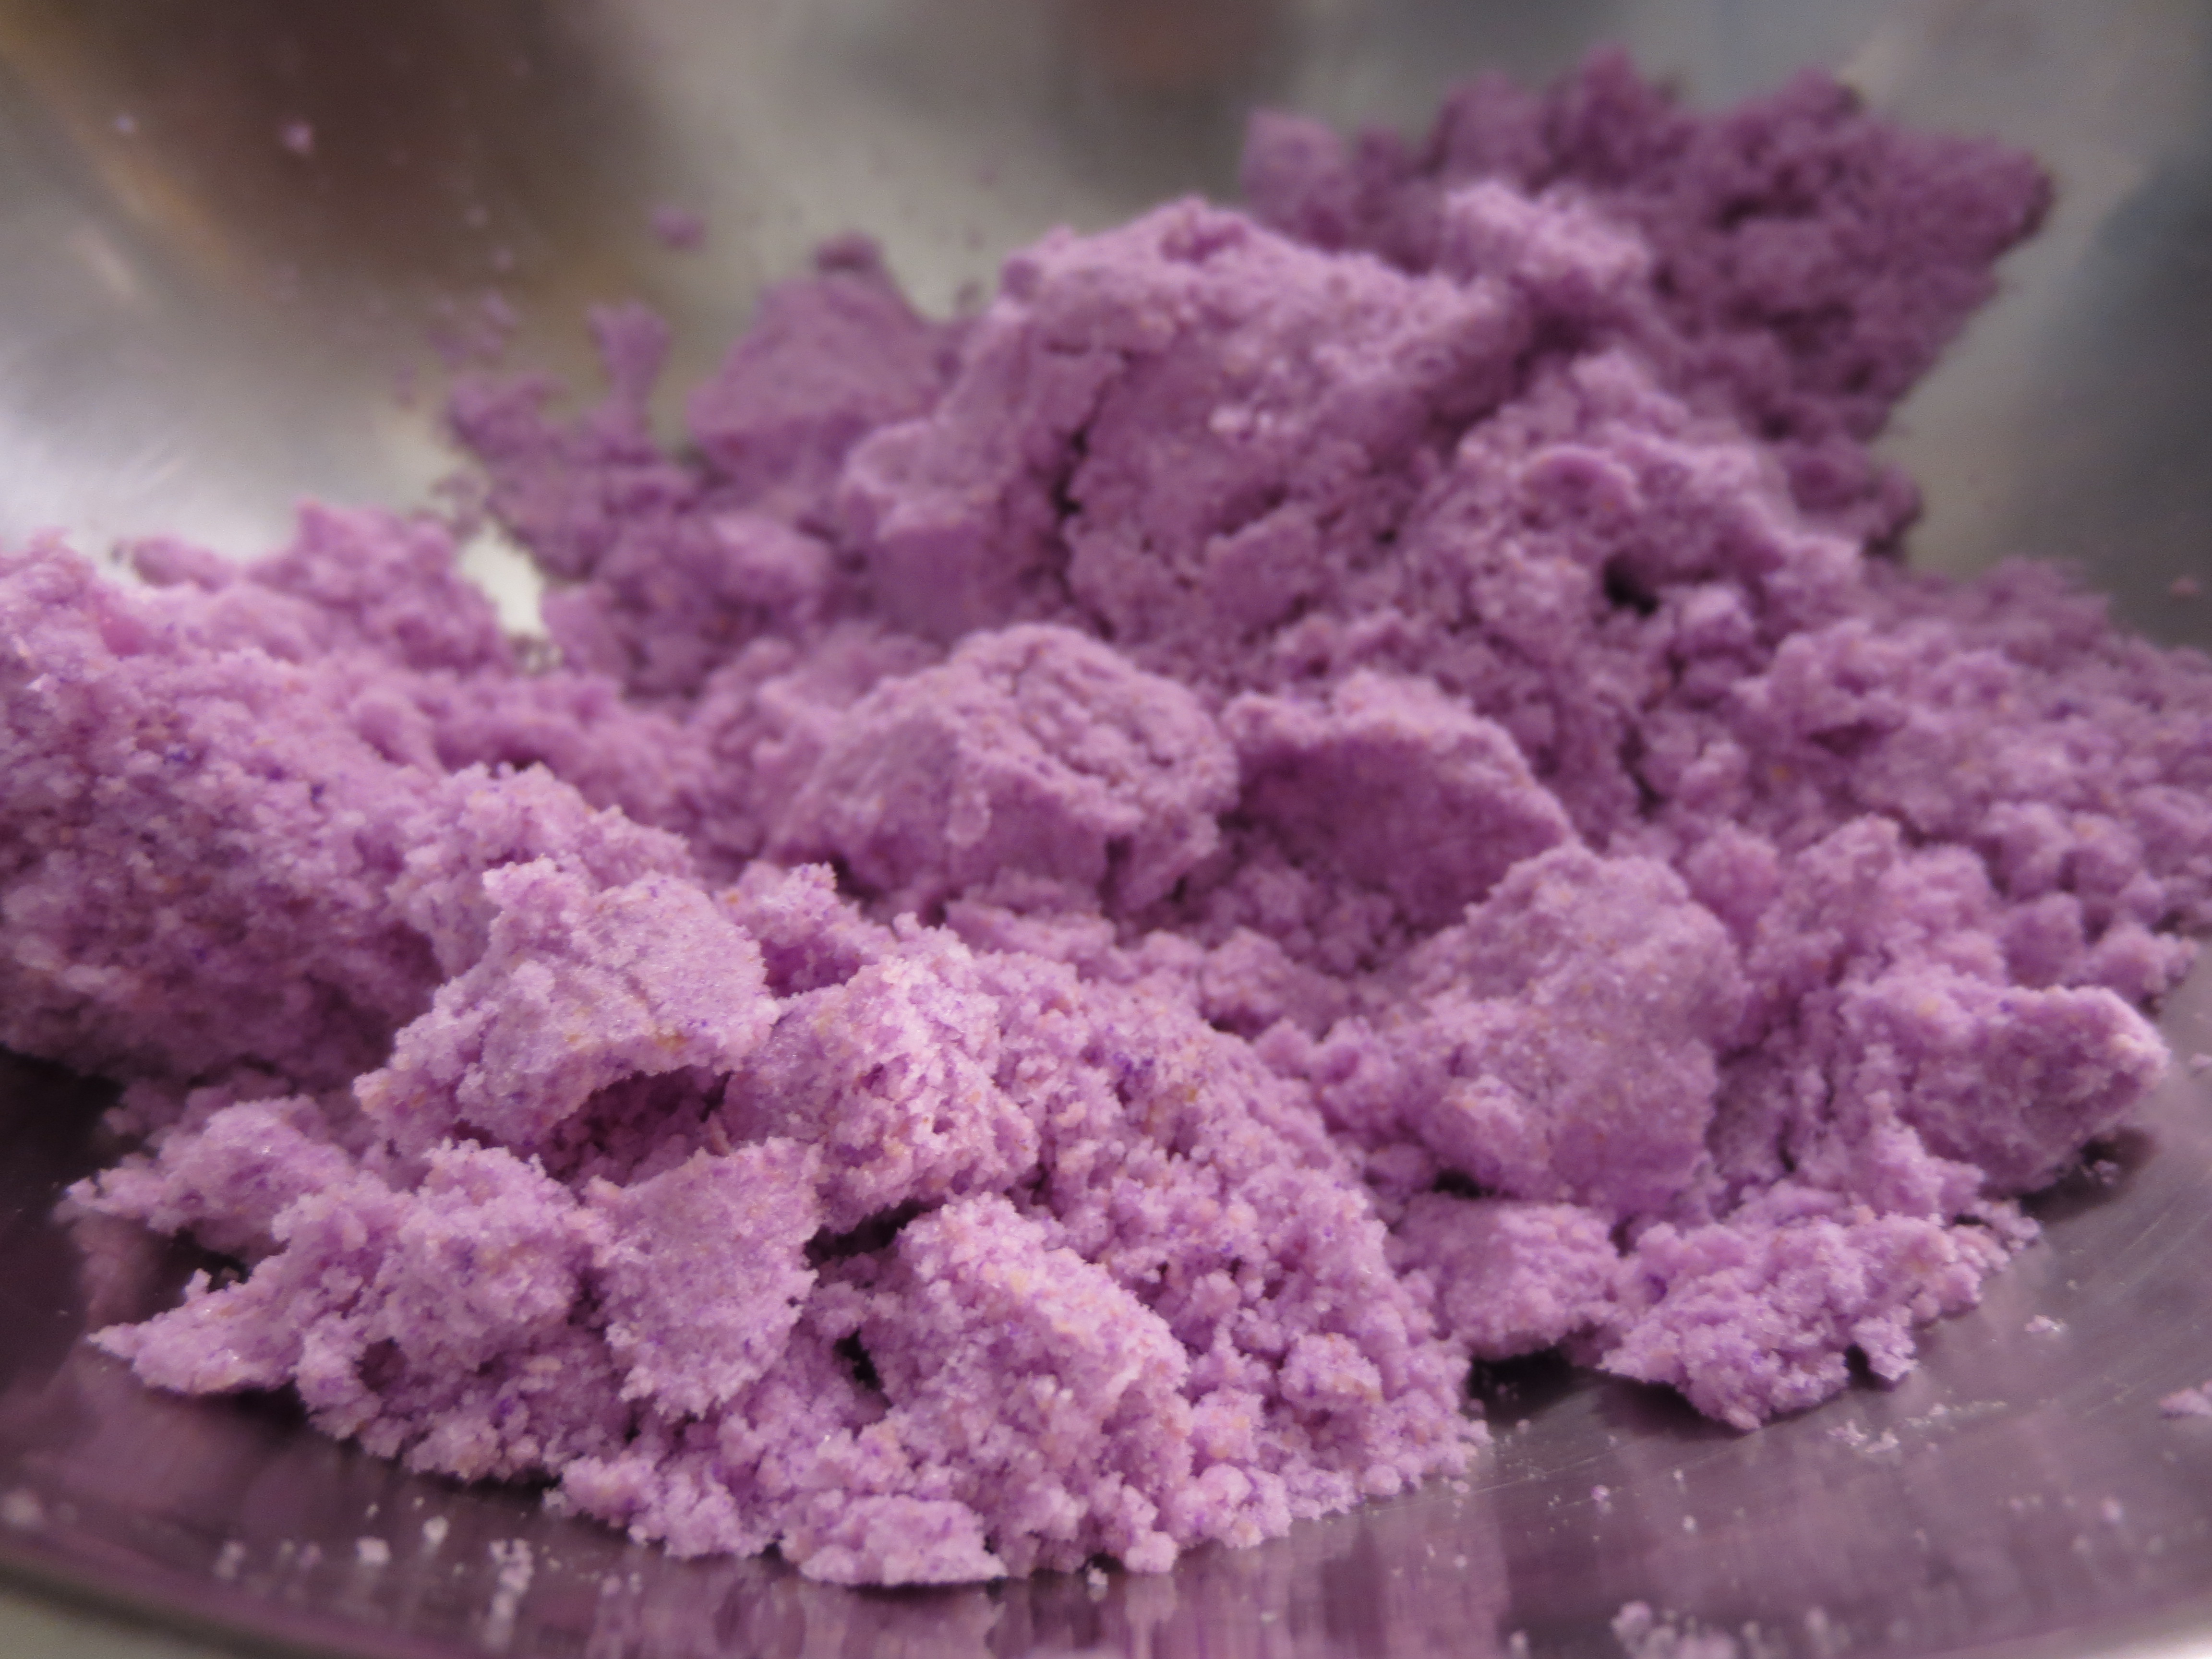
I got my dry ingredients and wet ingredients measured out minus the full amount of glycerin and started mixing it all together. My dough was too crumbly with just the 1/3cup of glycerin so I slowly added in 5ml/1 tsp of glycerin at a time until I got a pillowy but drier texture in the dough. I ended up using less than ½ cup which is why I don’t like to just dump it all in. I could have ended up with another over-glycerined bubble loaf. Rolling the dough out was easier this time since the dough was drier.

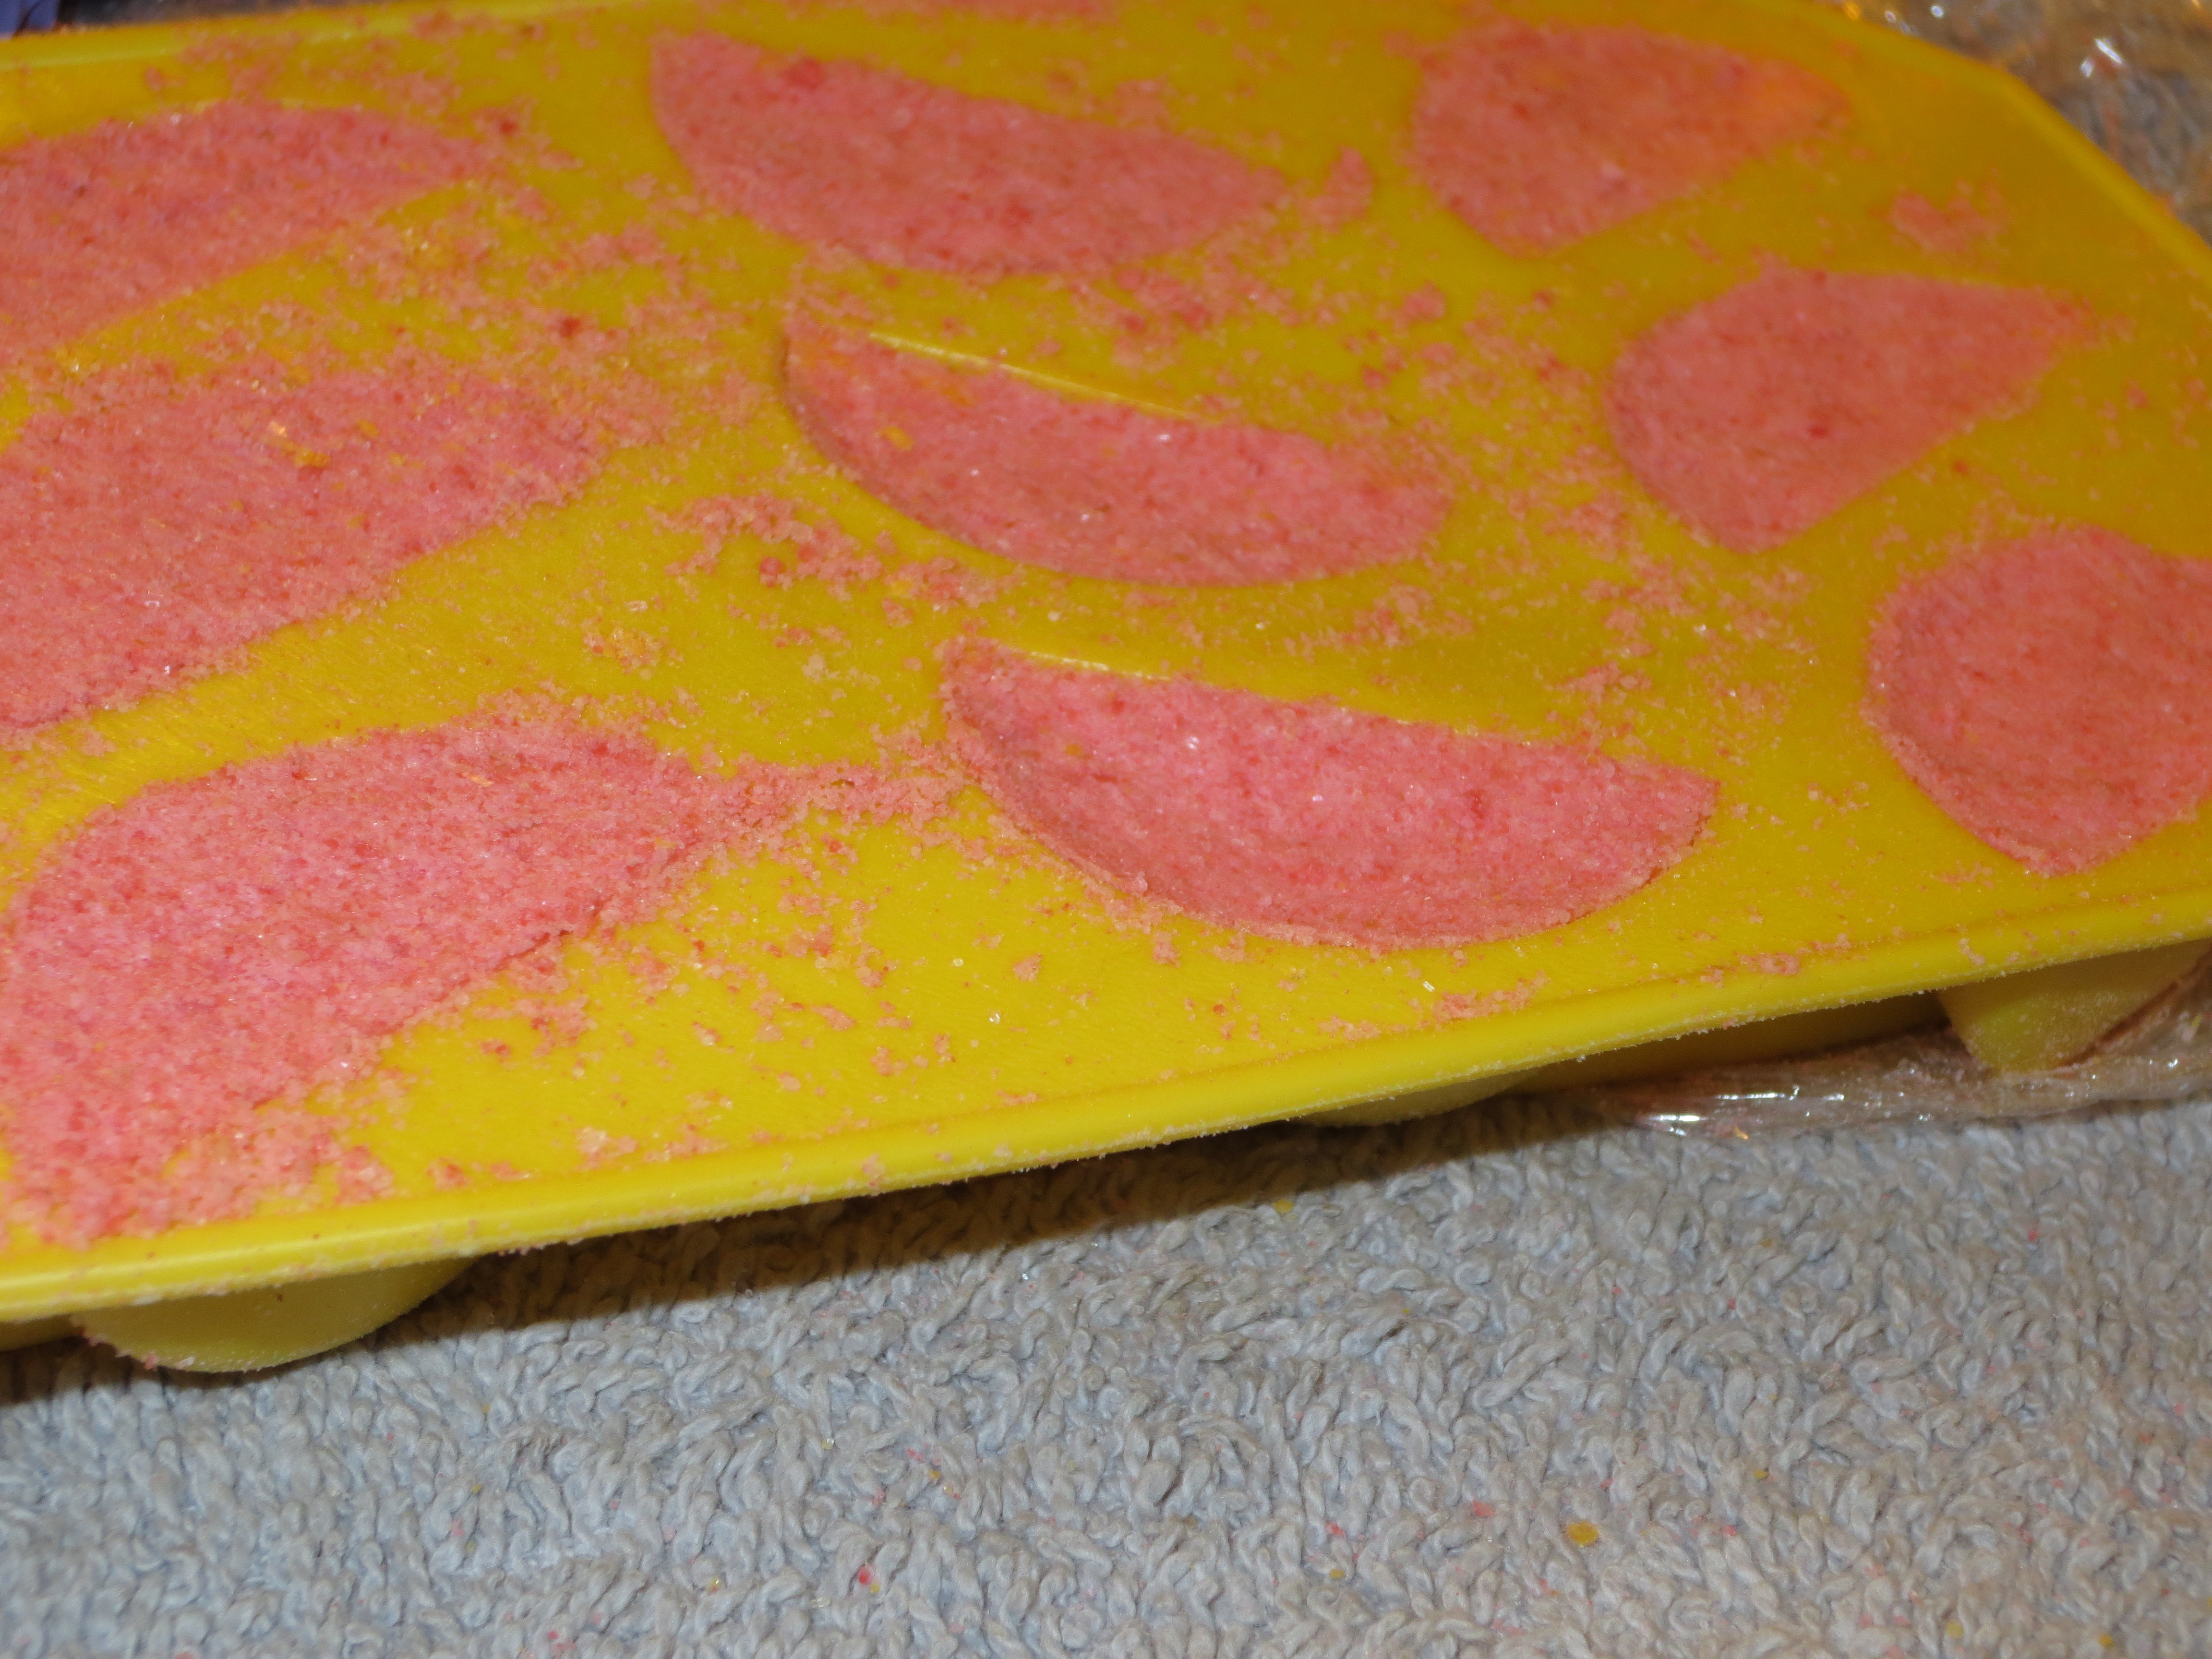
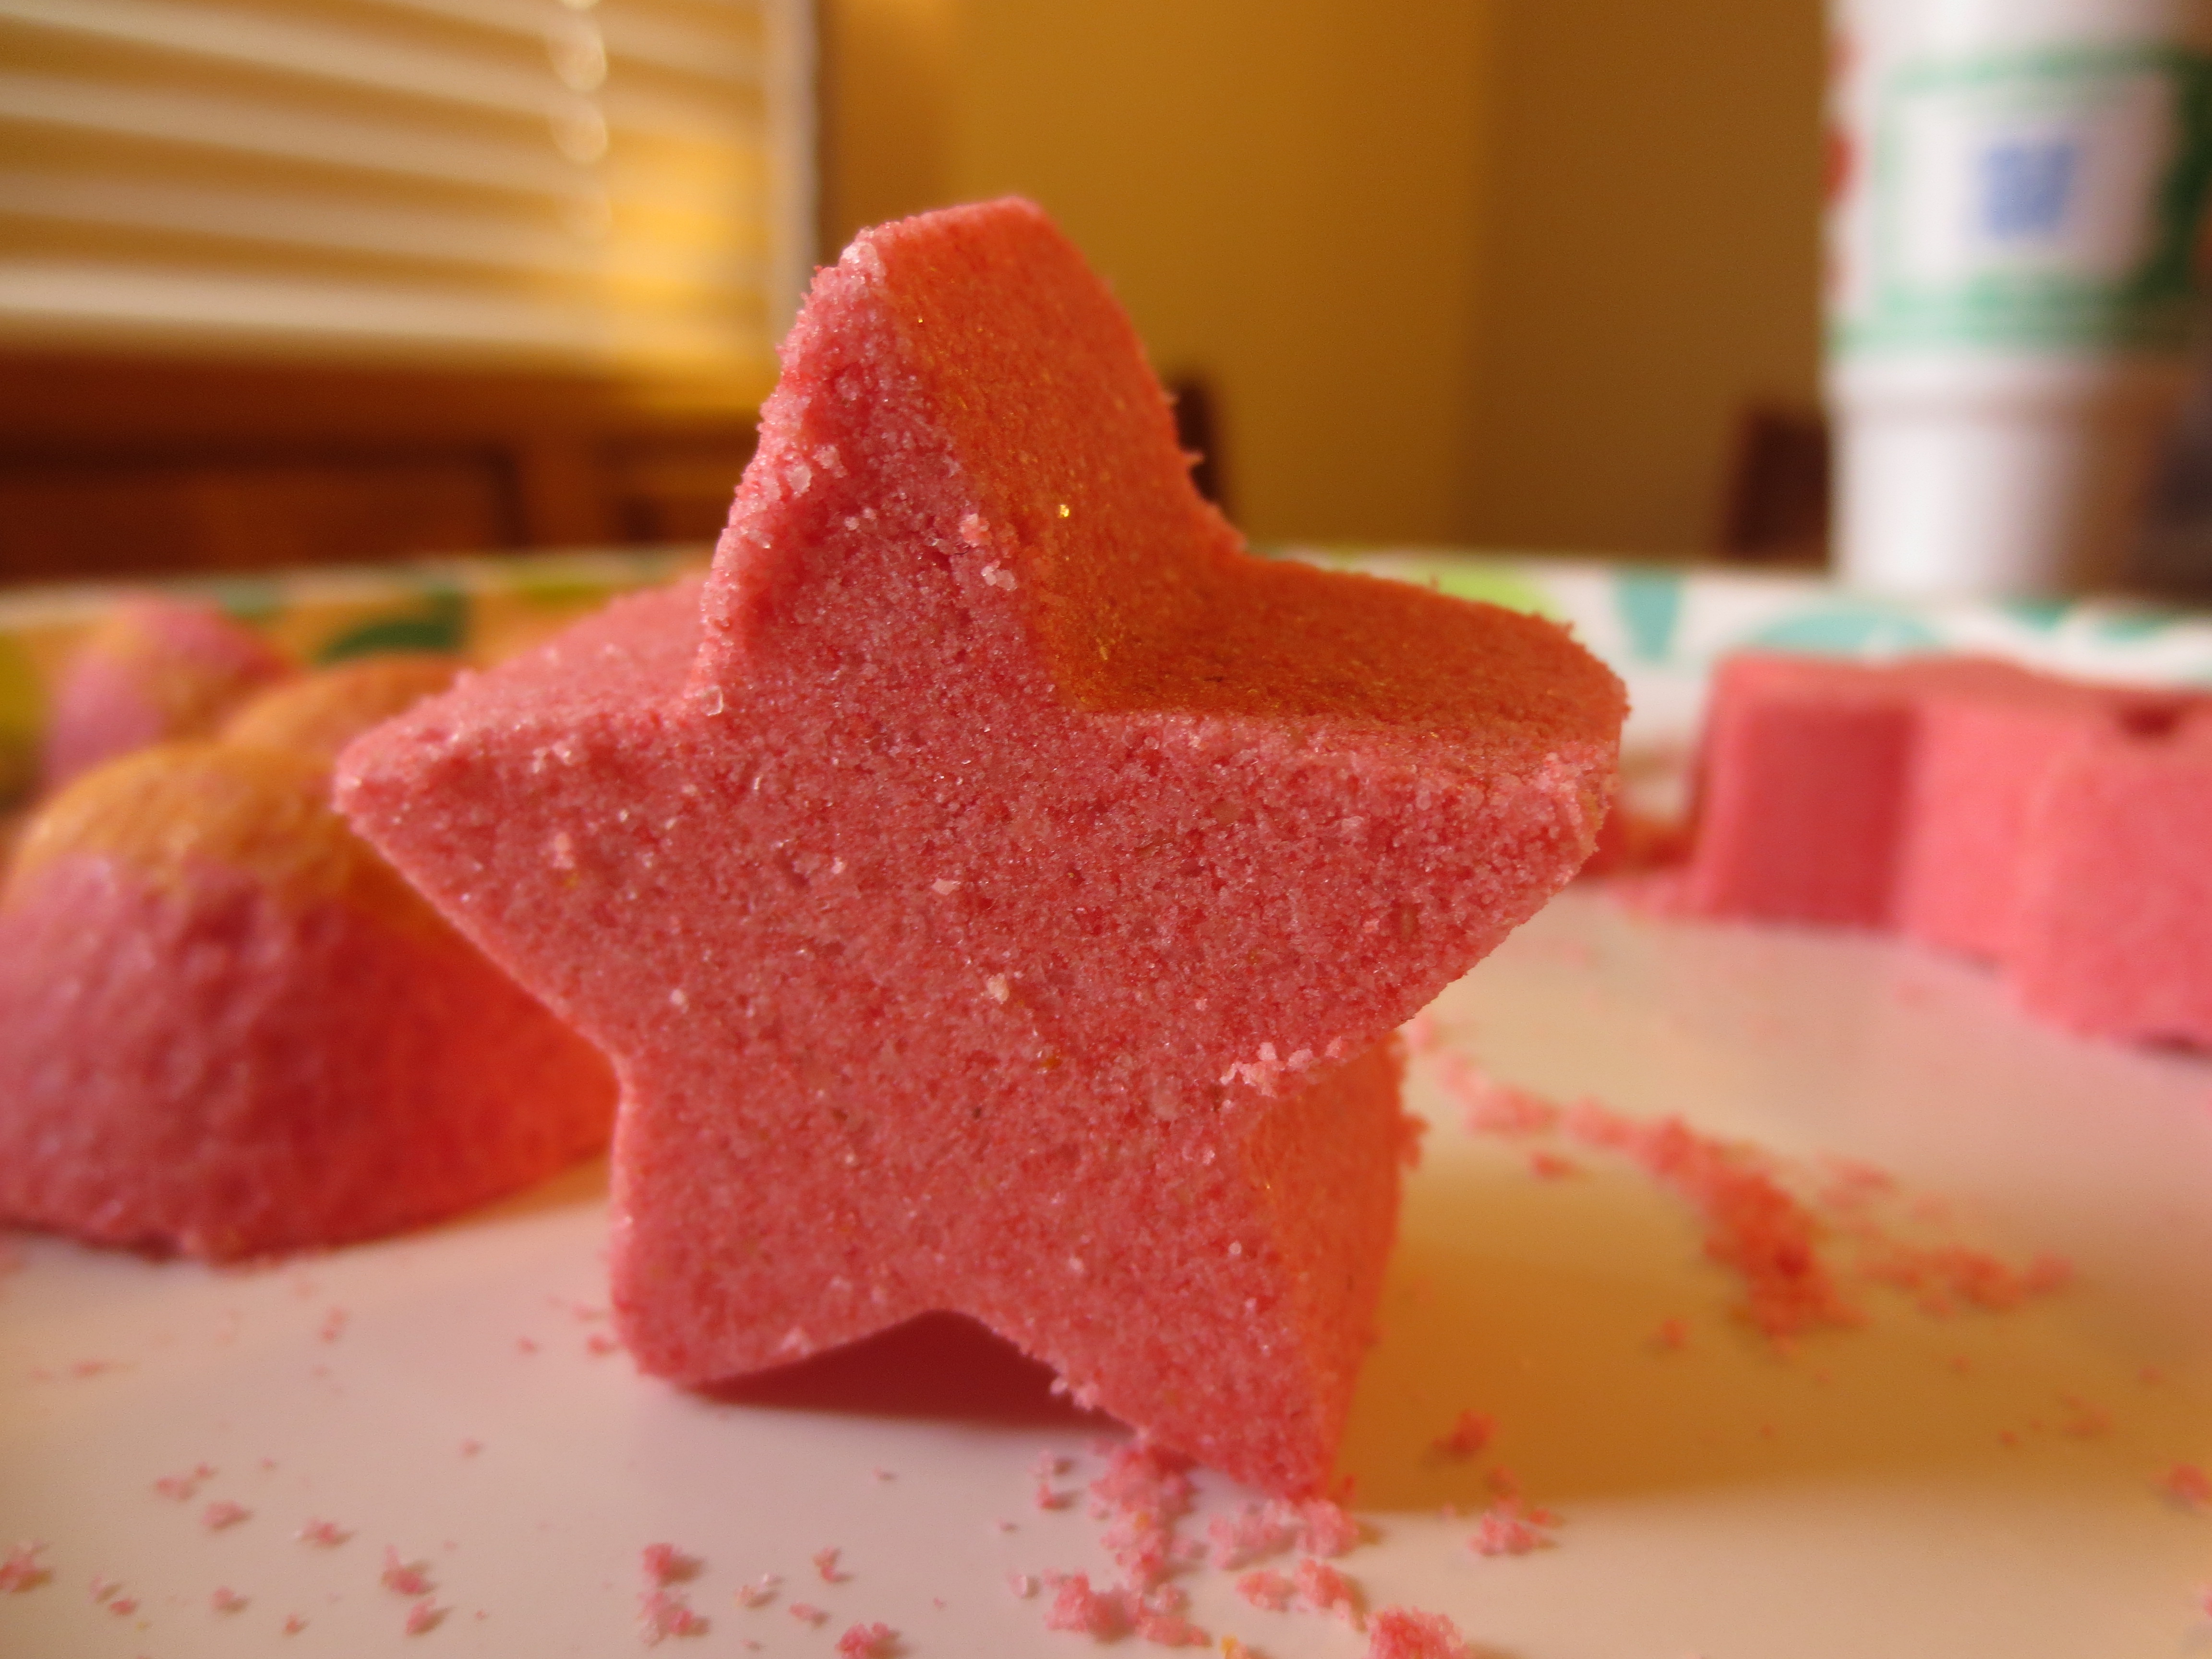
If you are going to attempt the swirl bubble bar design, I suggest you get the colored layers flattened to a nice thin layer otherwise the swirl will look more like a color blob with a little dot of color in the center. Another tip to keep in mind when rolling the dough out for the swirl, is that you want to shape the dough so it’s like a rectangle. You want to roll the dough on the shorter side. The longer edge of the dough is what helps create the swirls. The more times you roll the dough over equals out to how many rings of swirls you will get. Rolling the dough thin allows for more rings.
New_3
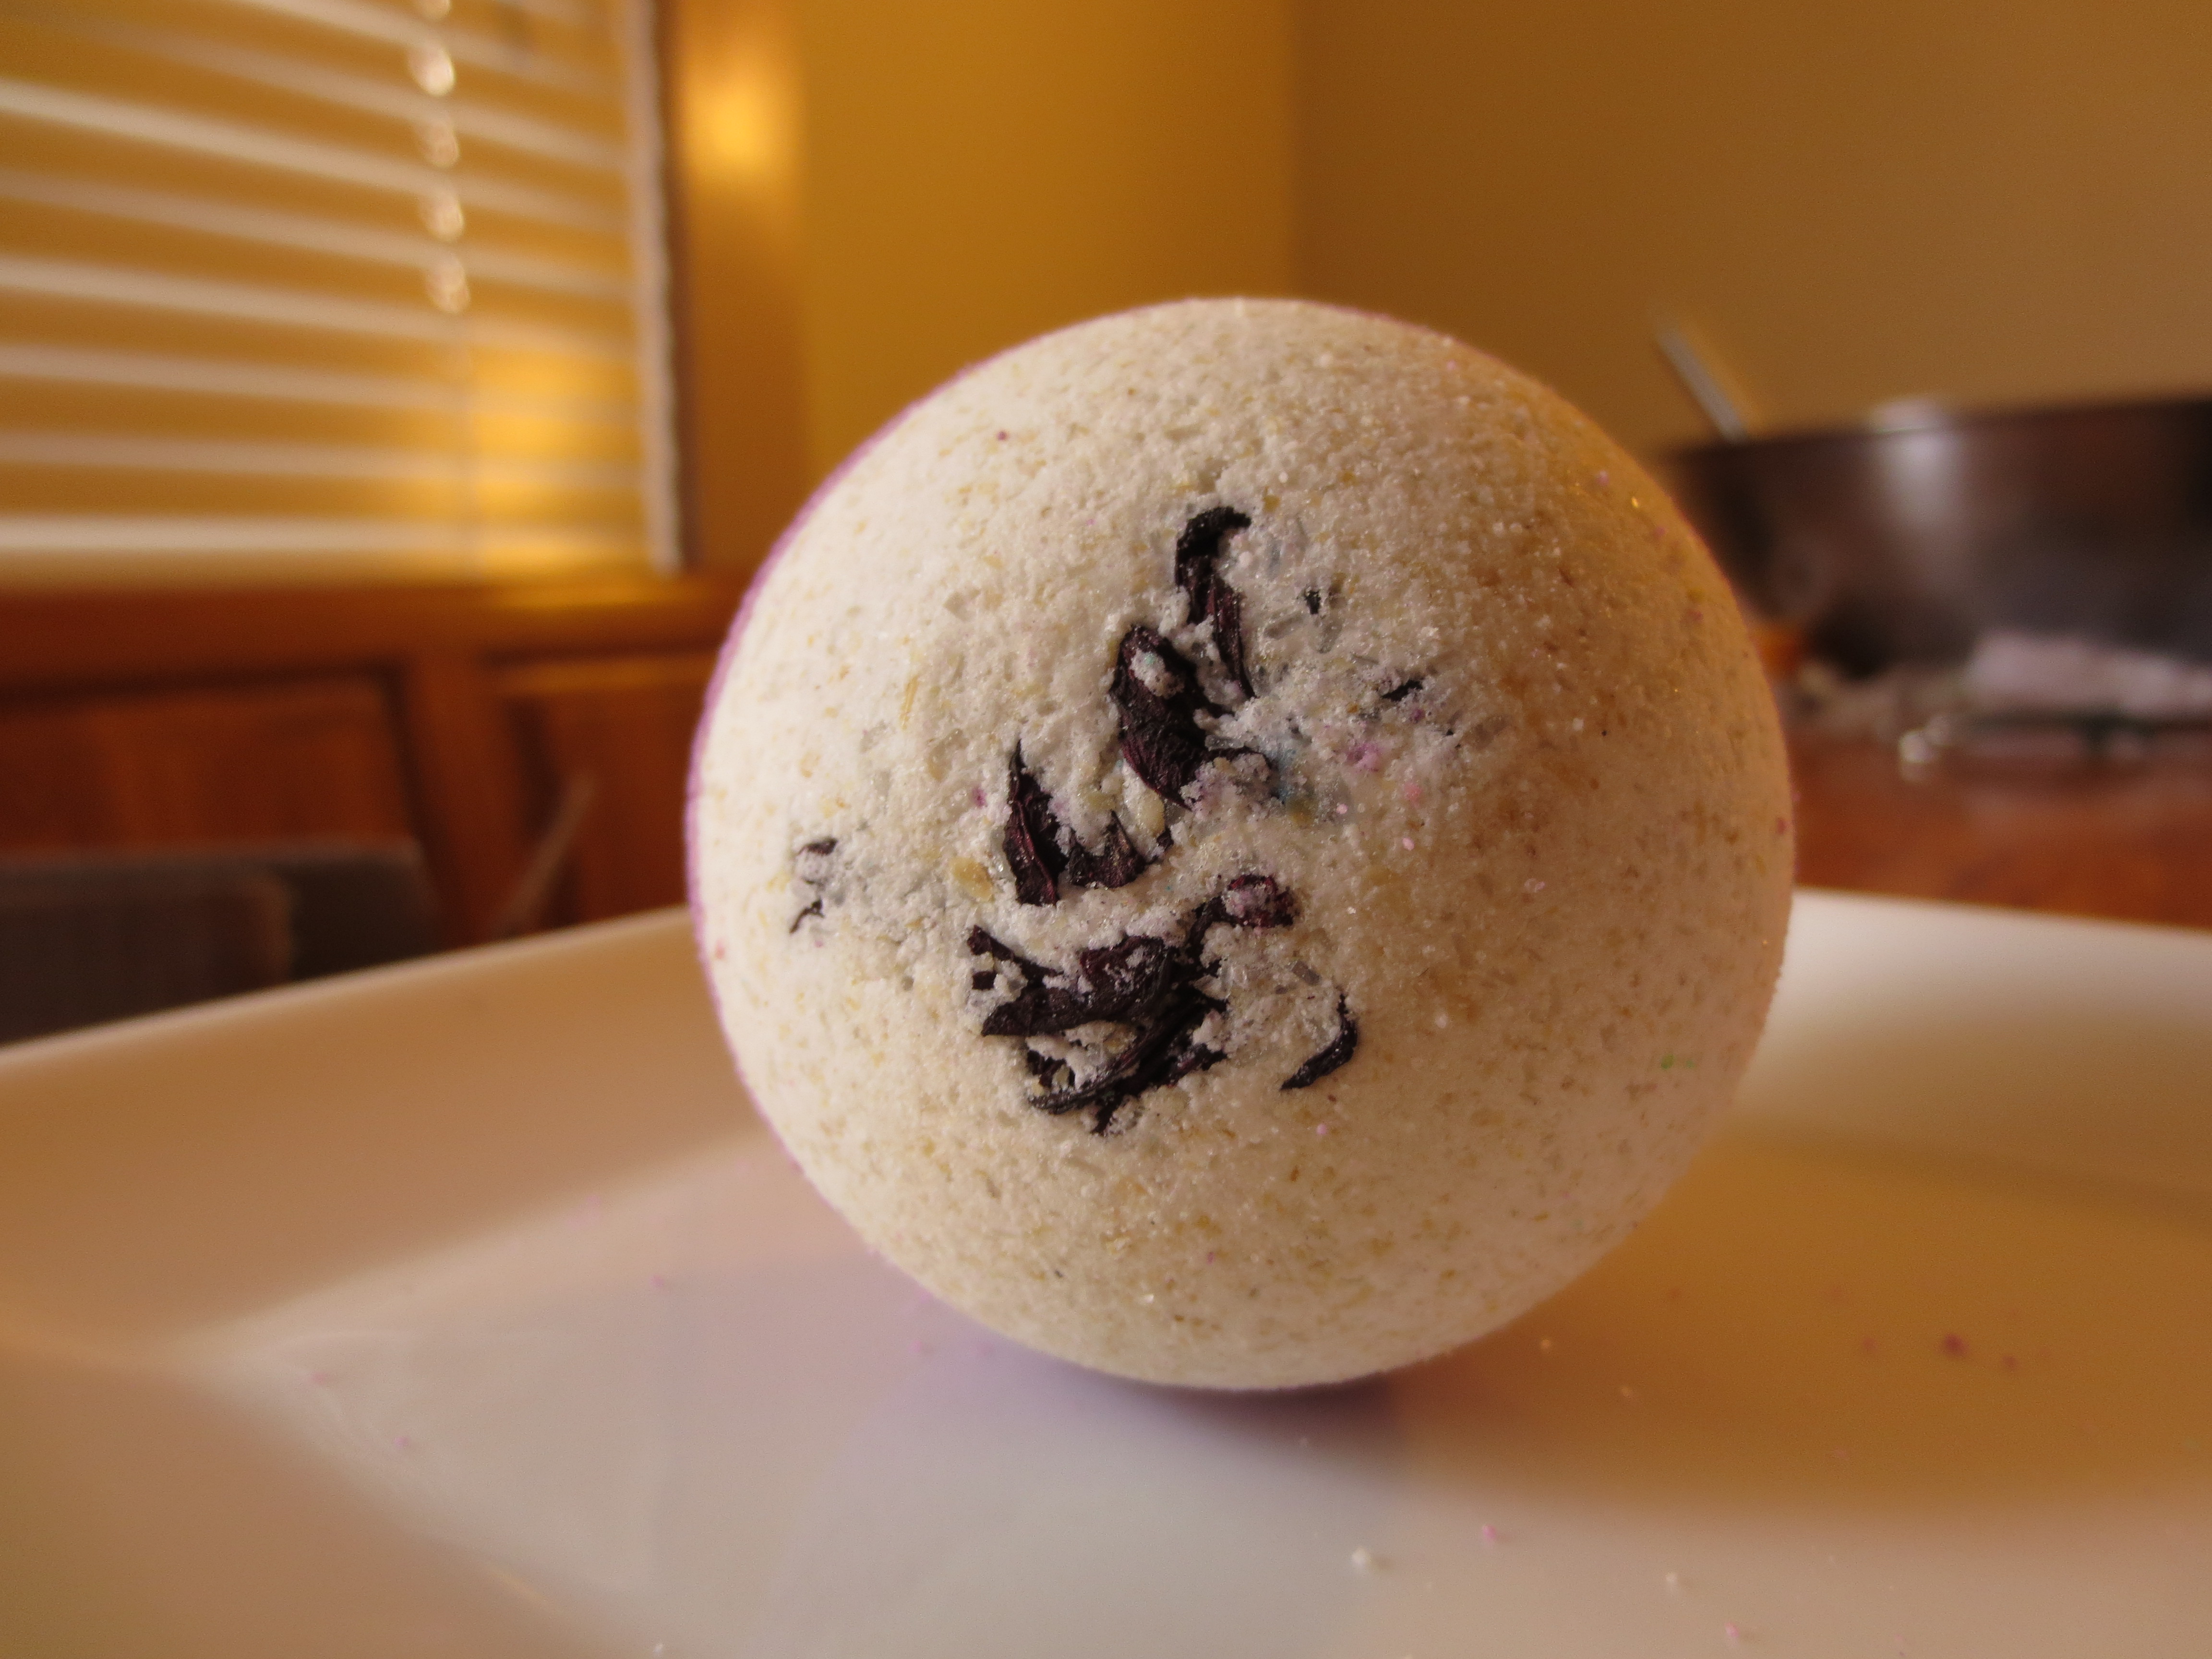
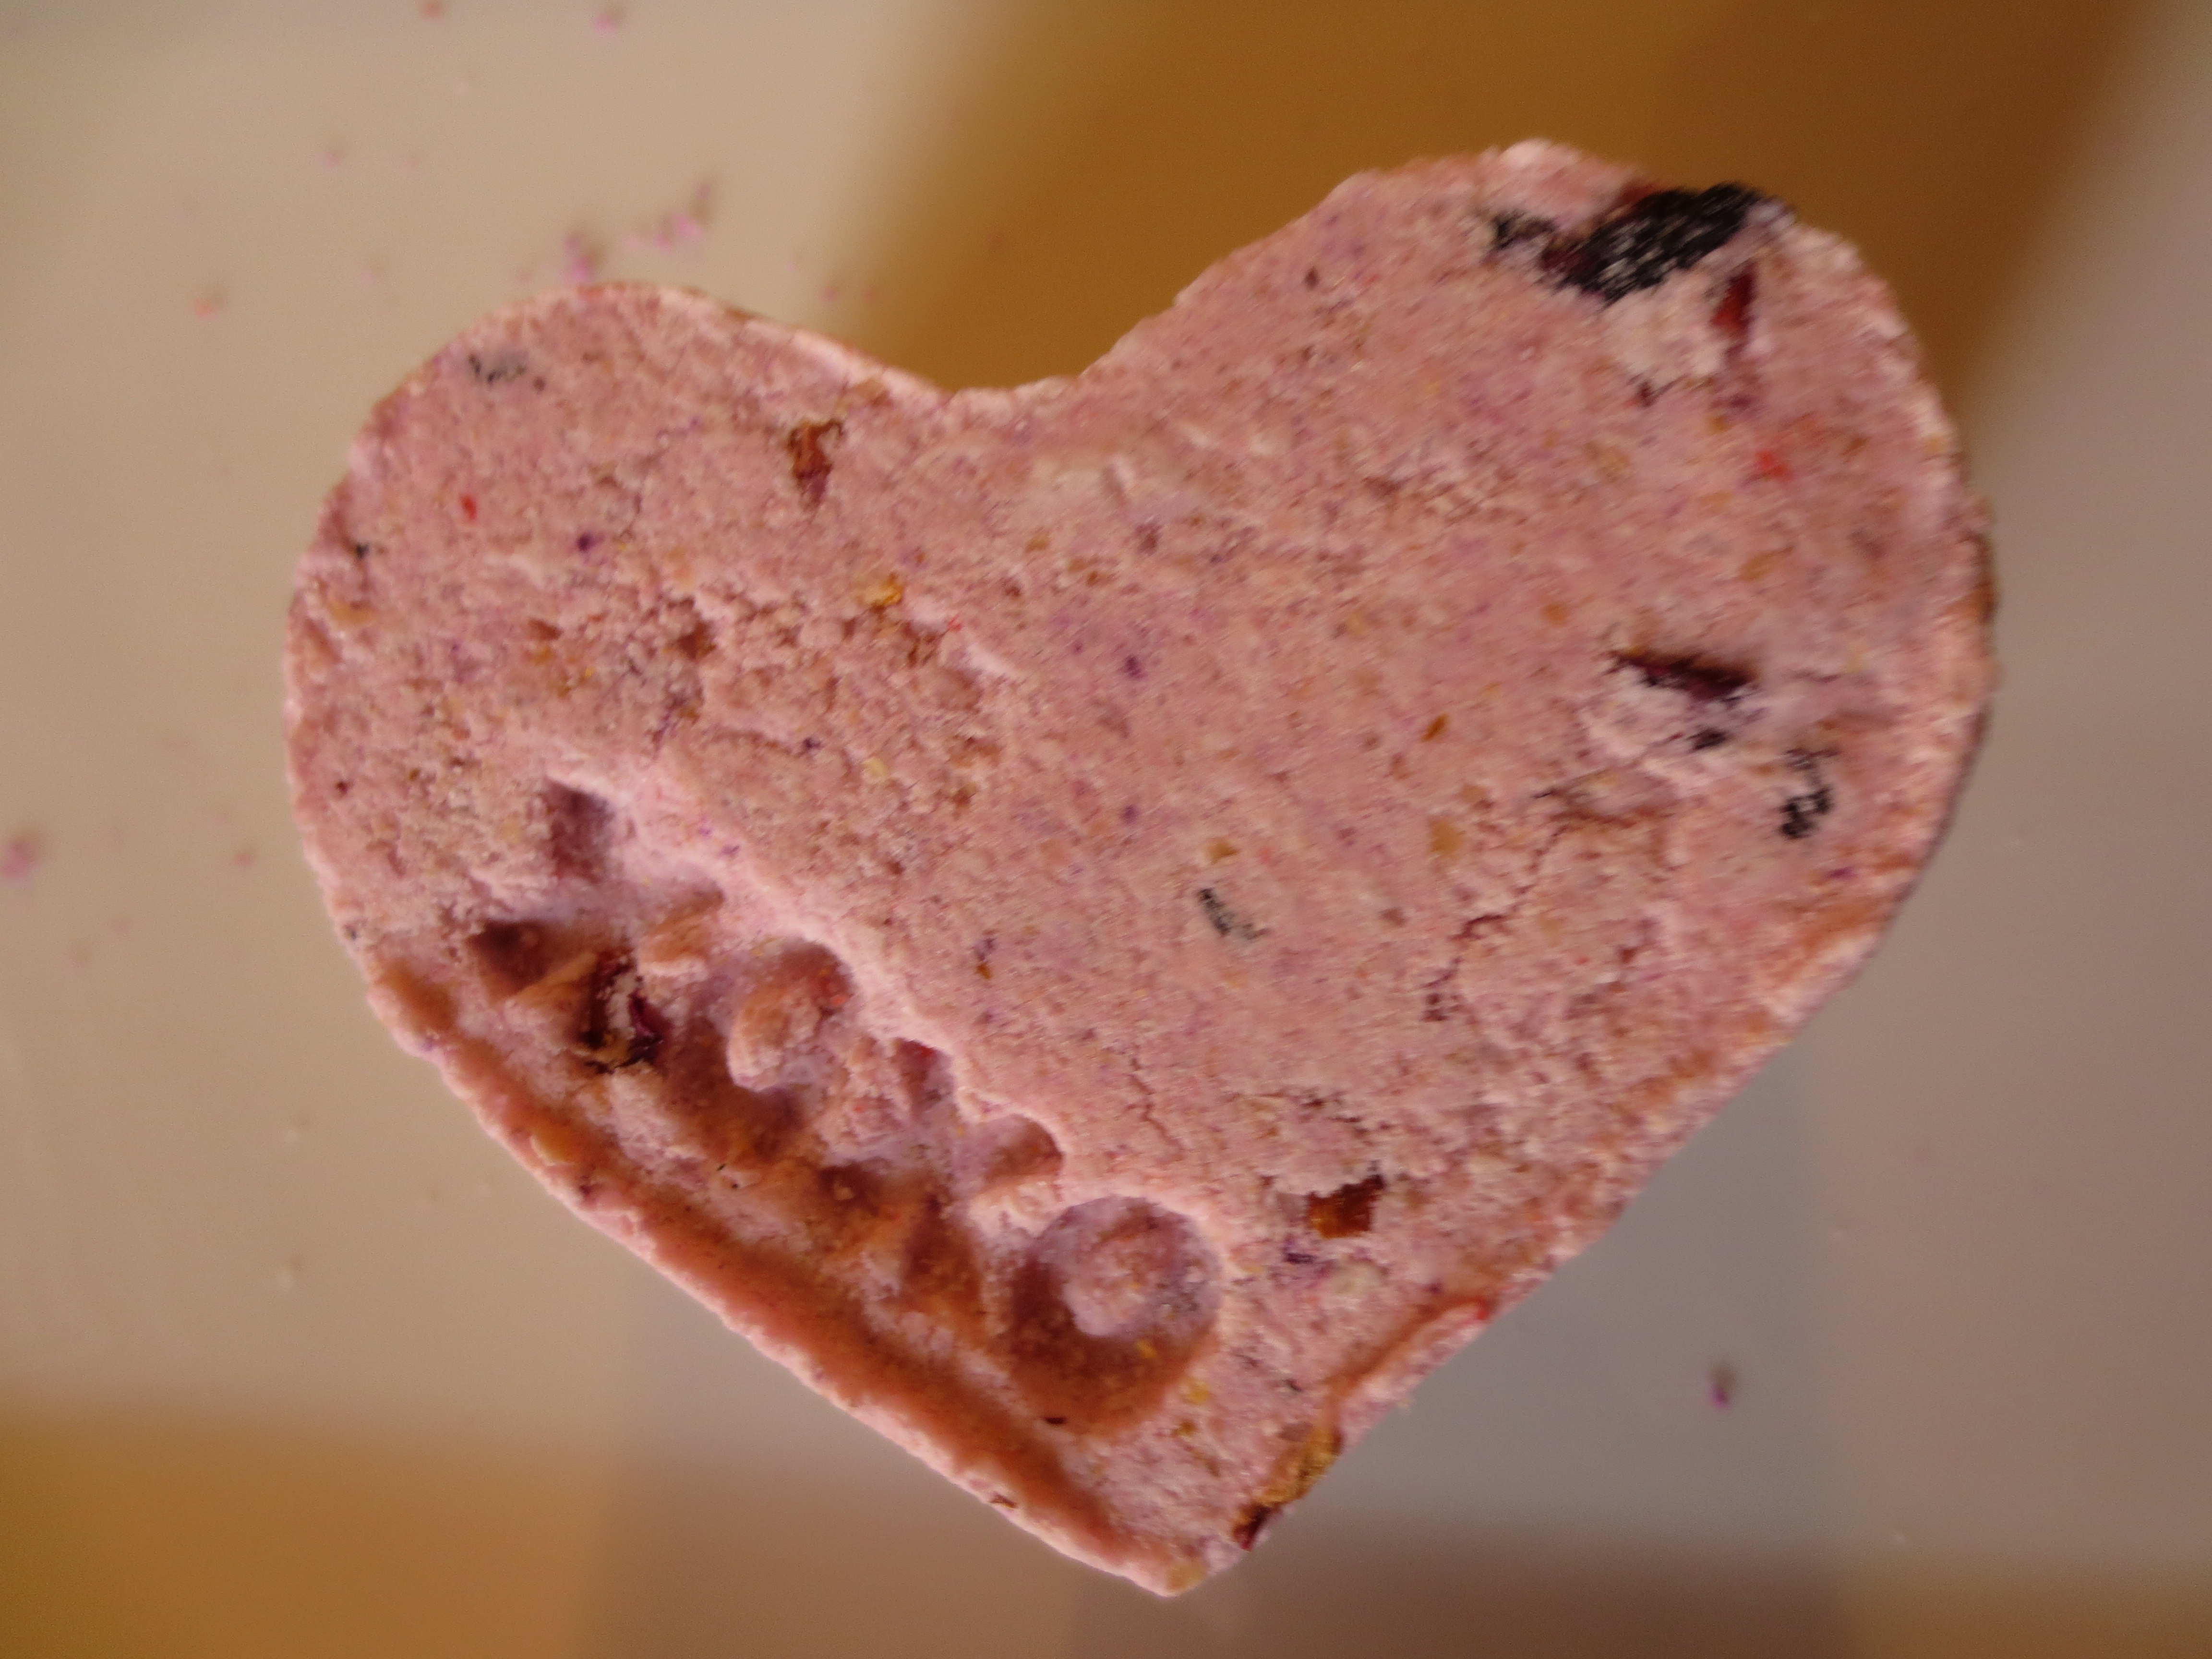
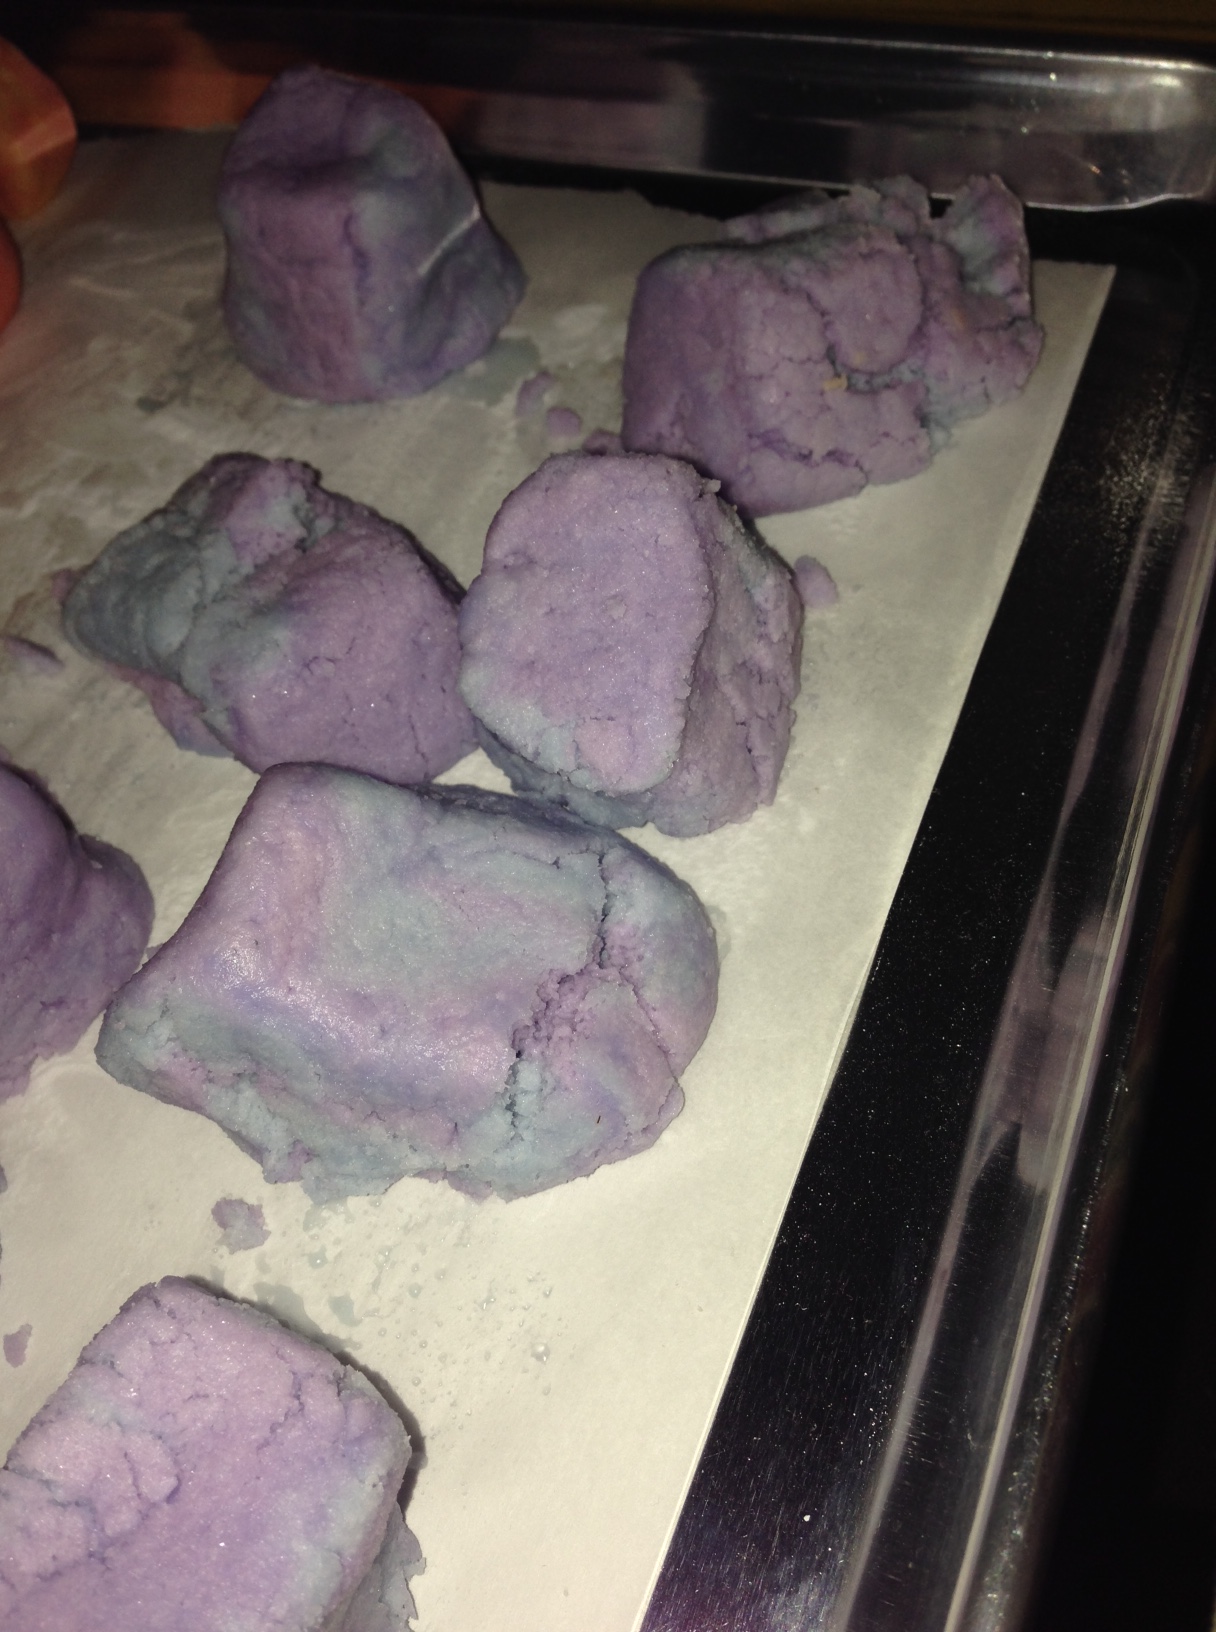
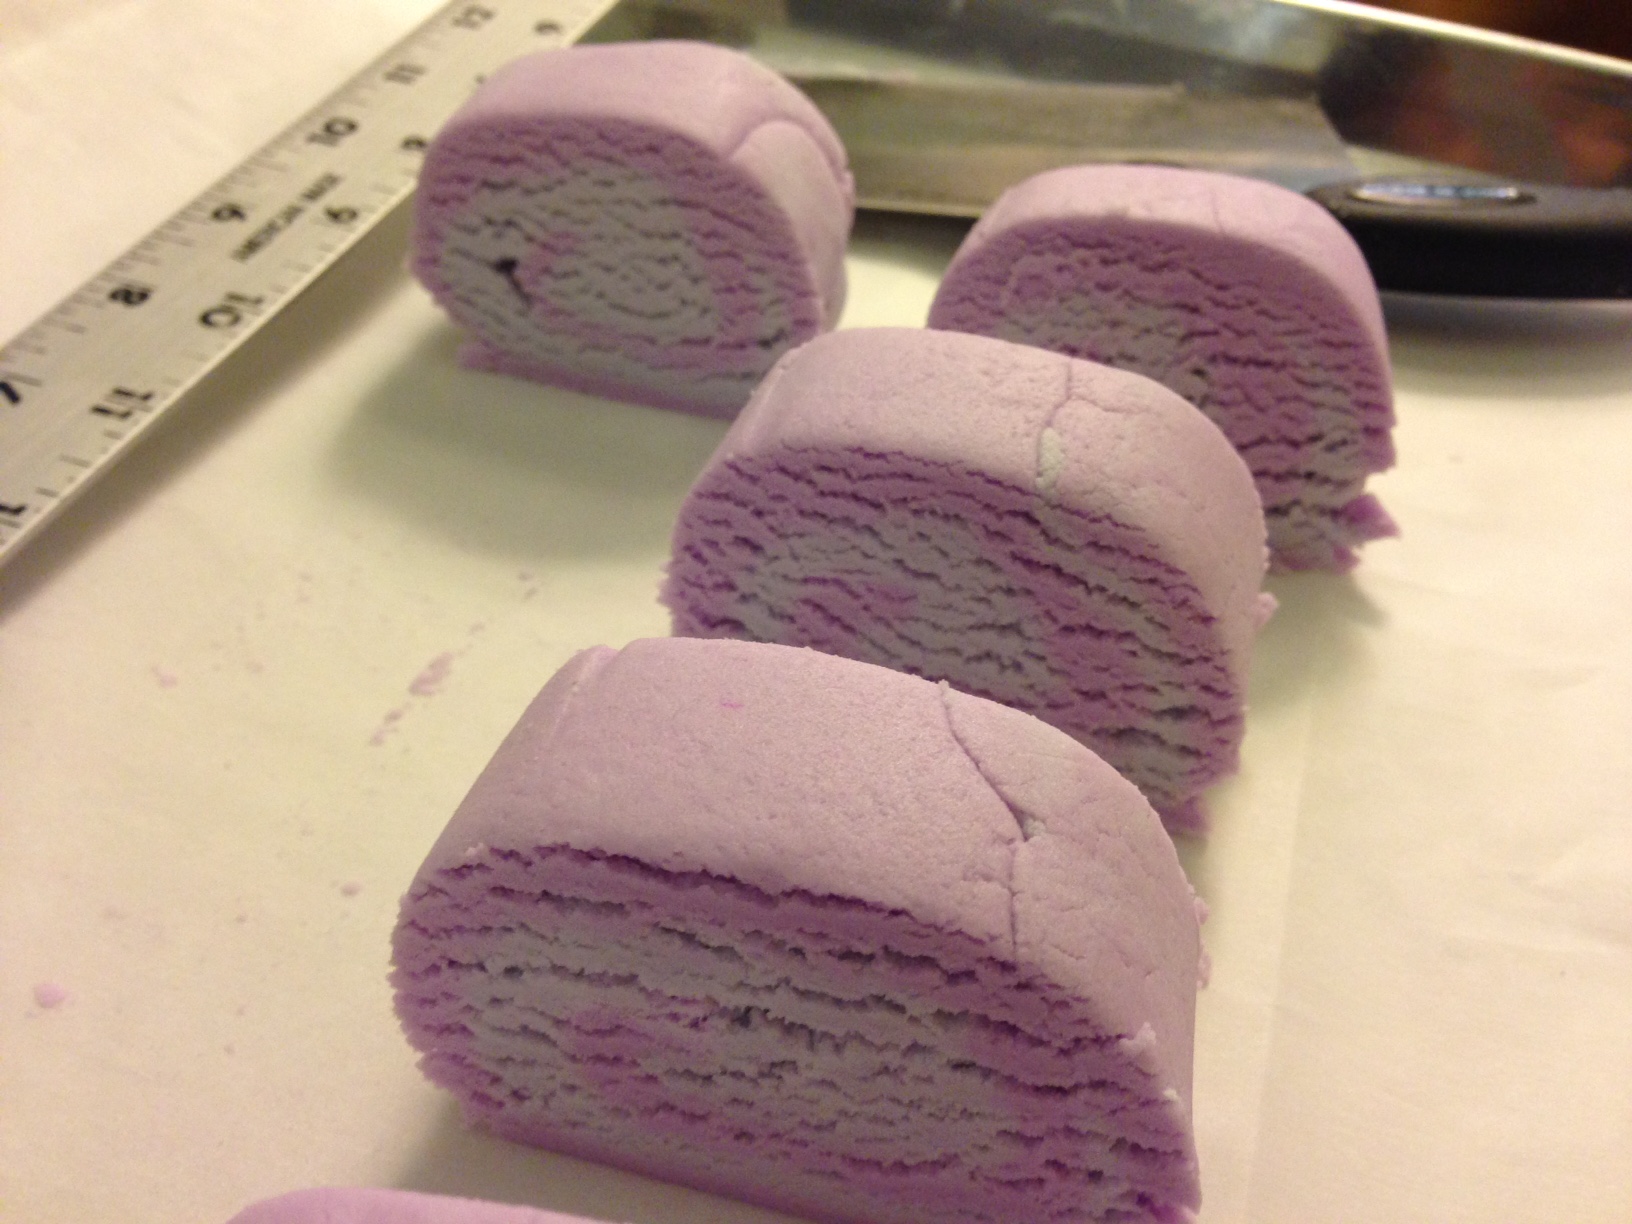
As you can see from my photo, I had to learn the hard way. I didn’t roll it out thin enough so that I would get a decent swirl. My OCD kicked in and I skillfully cut apart the bars and reswirled each one individually.
New_1
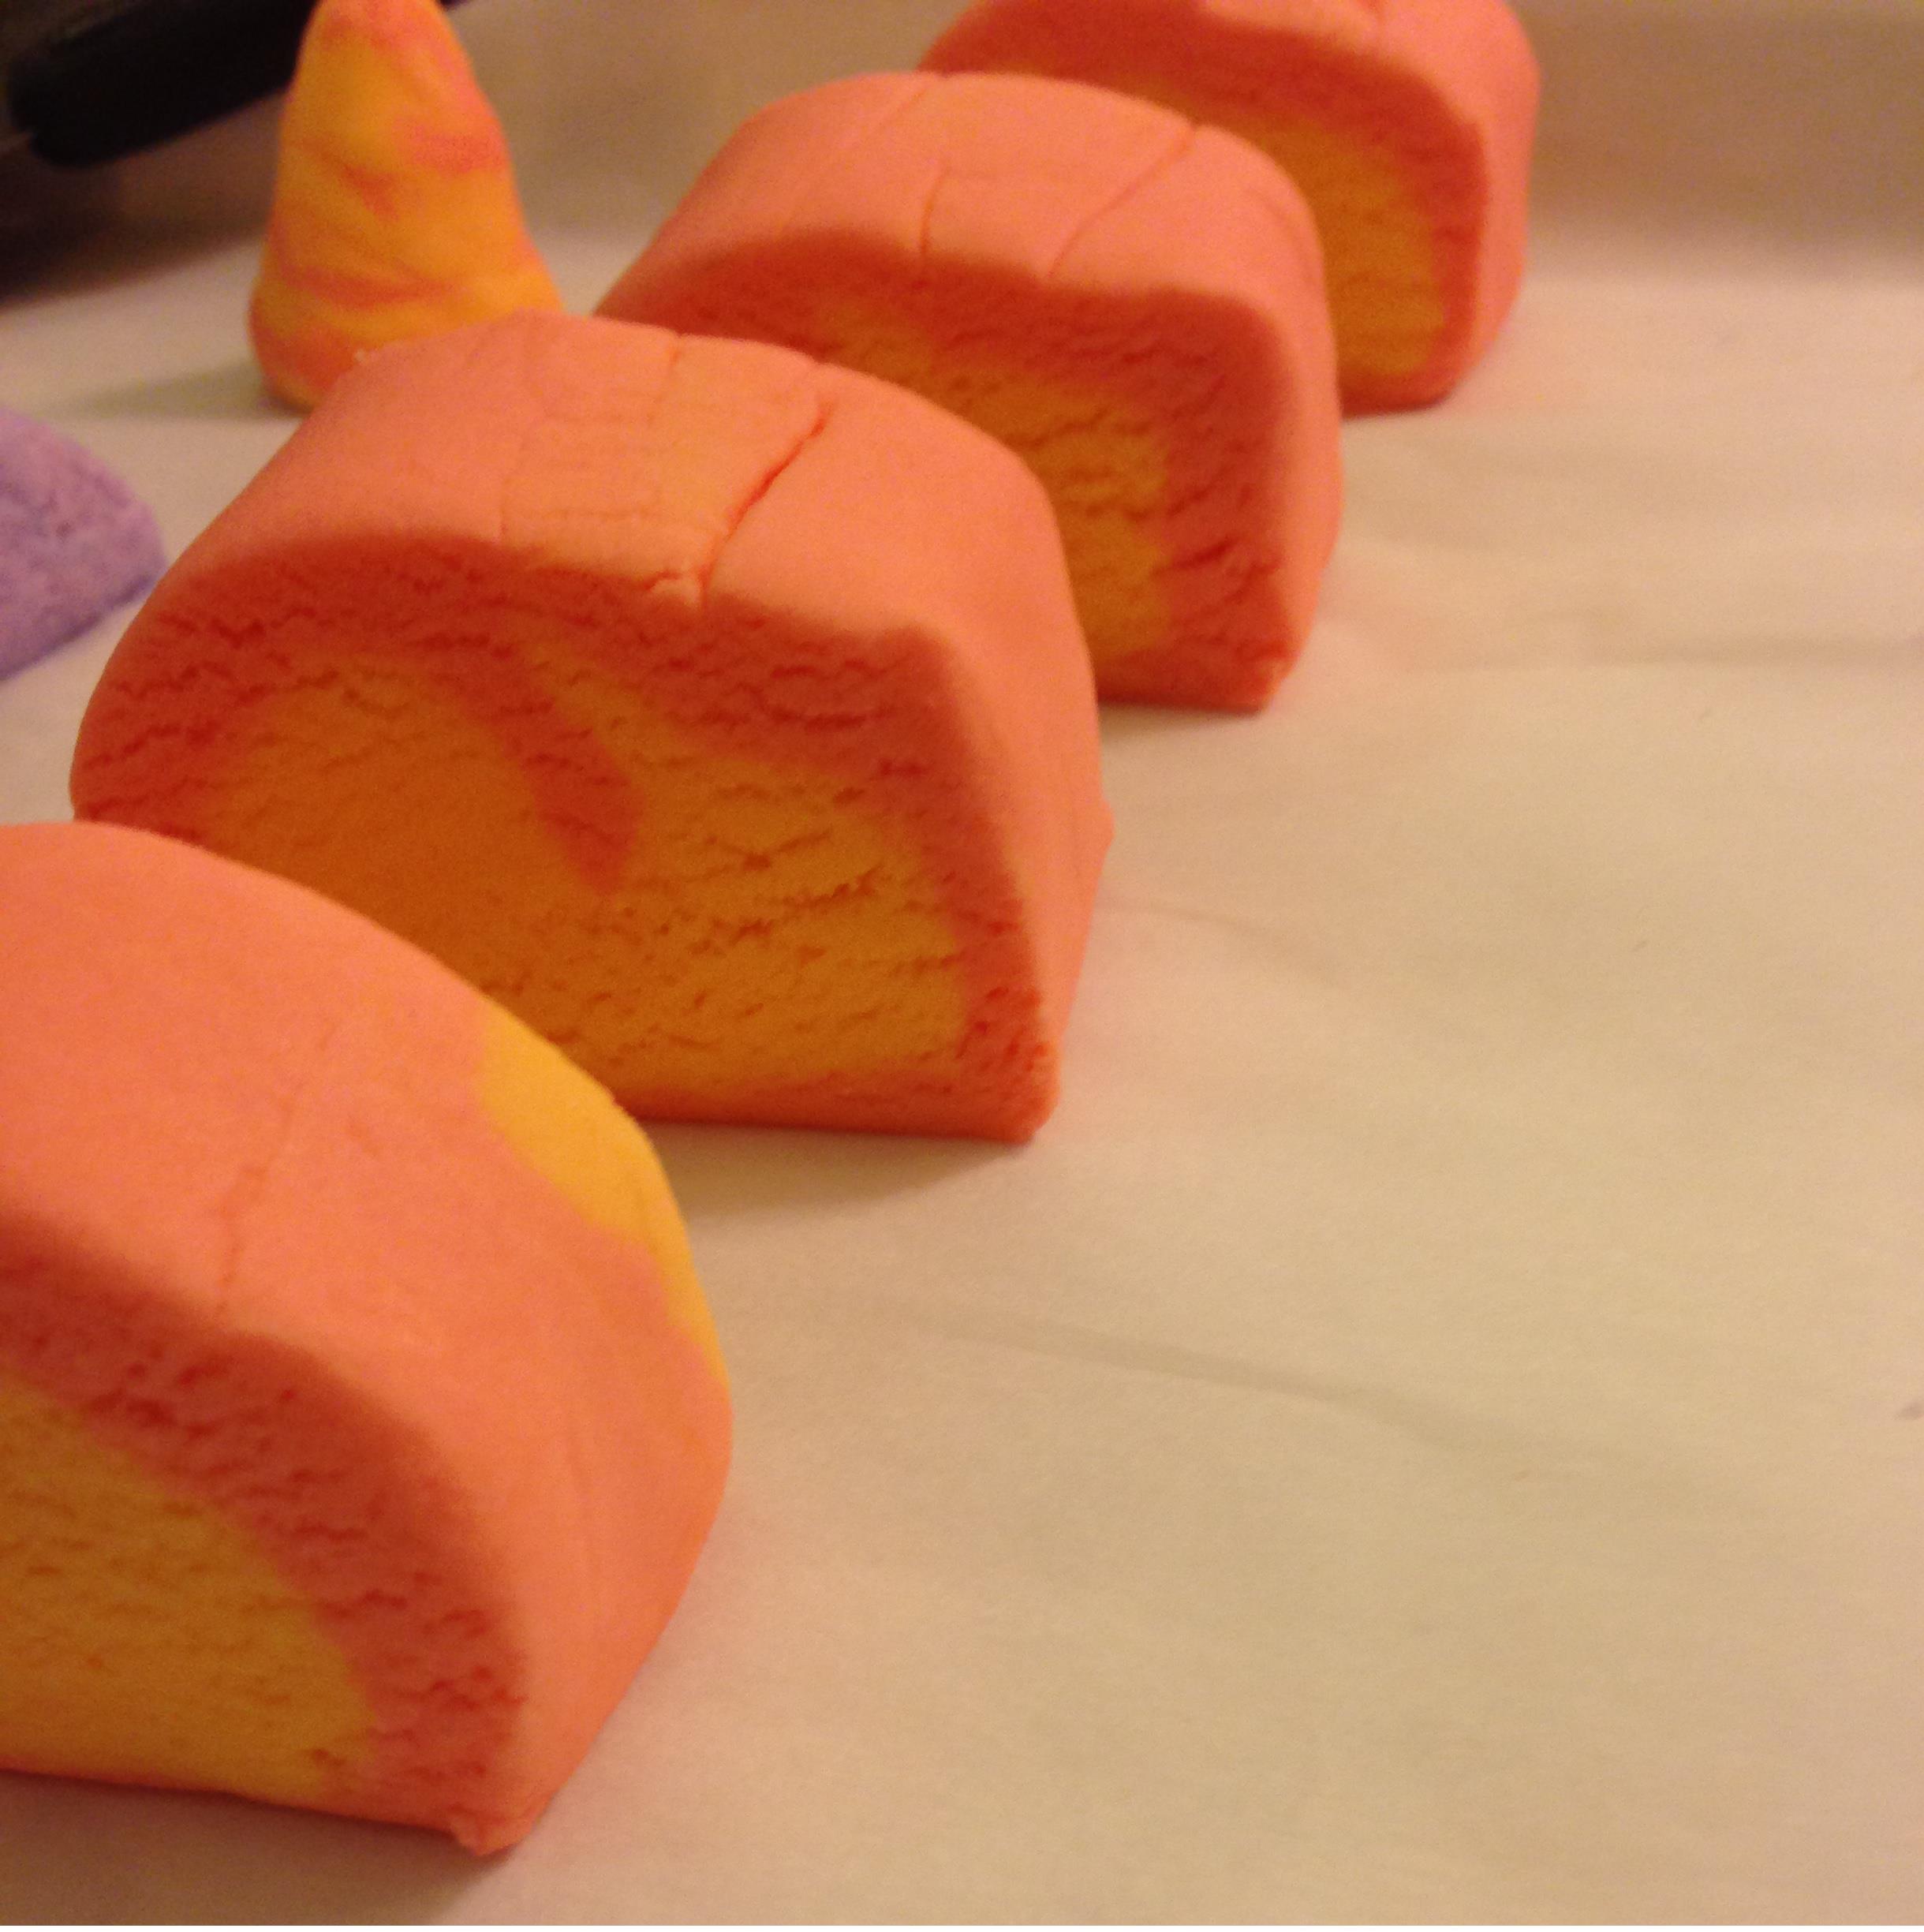
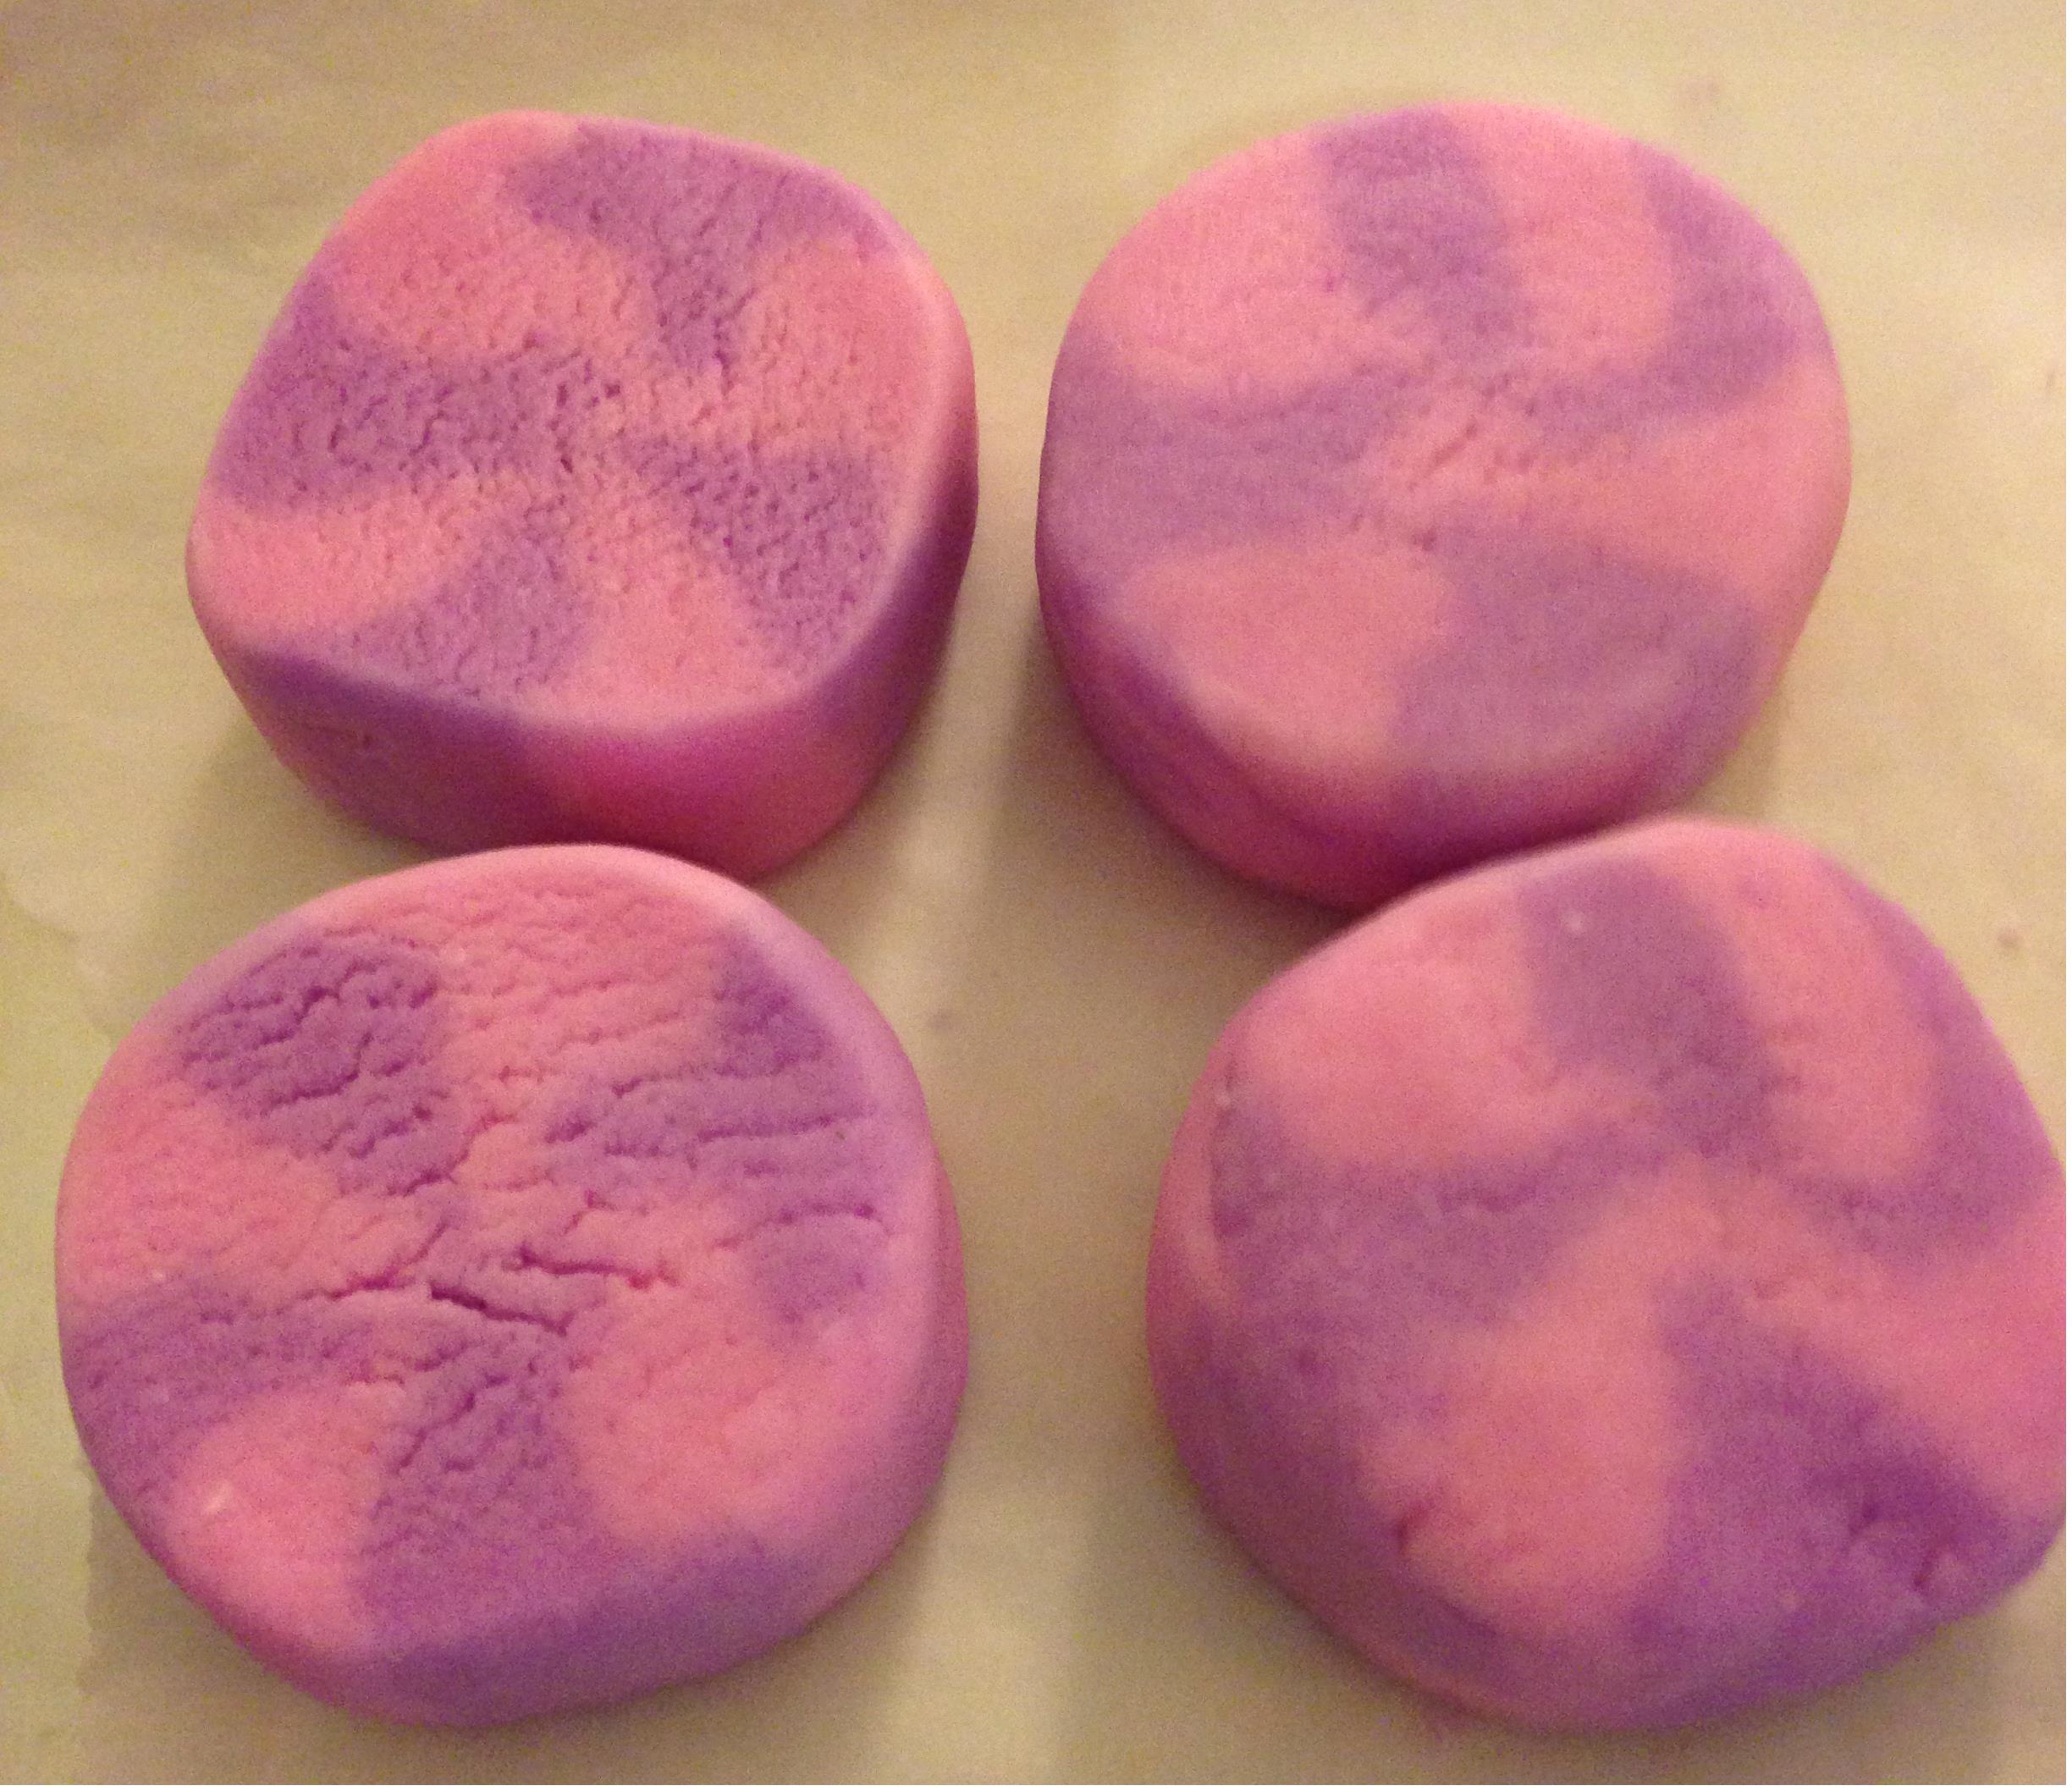
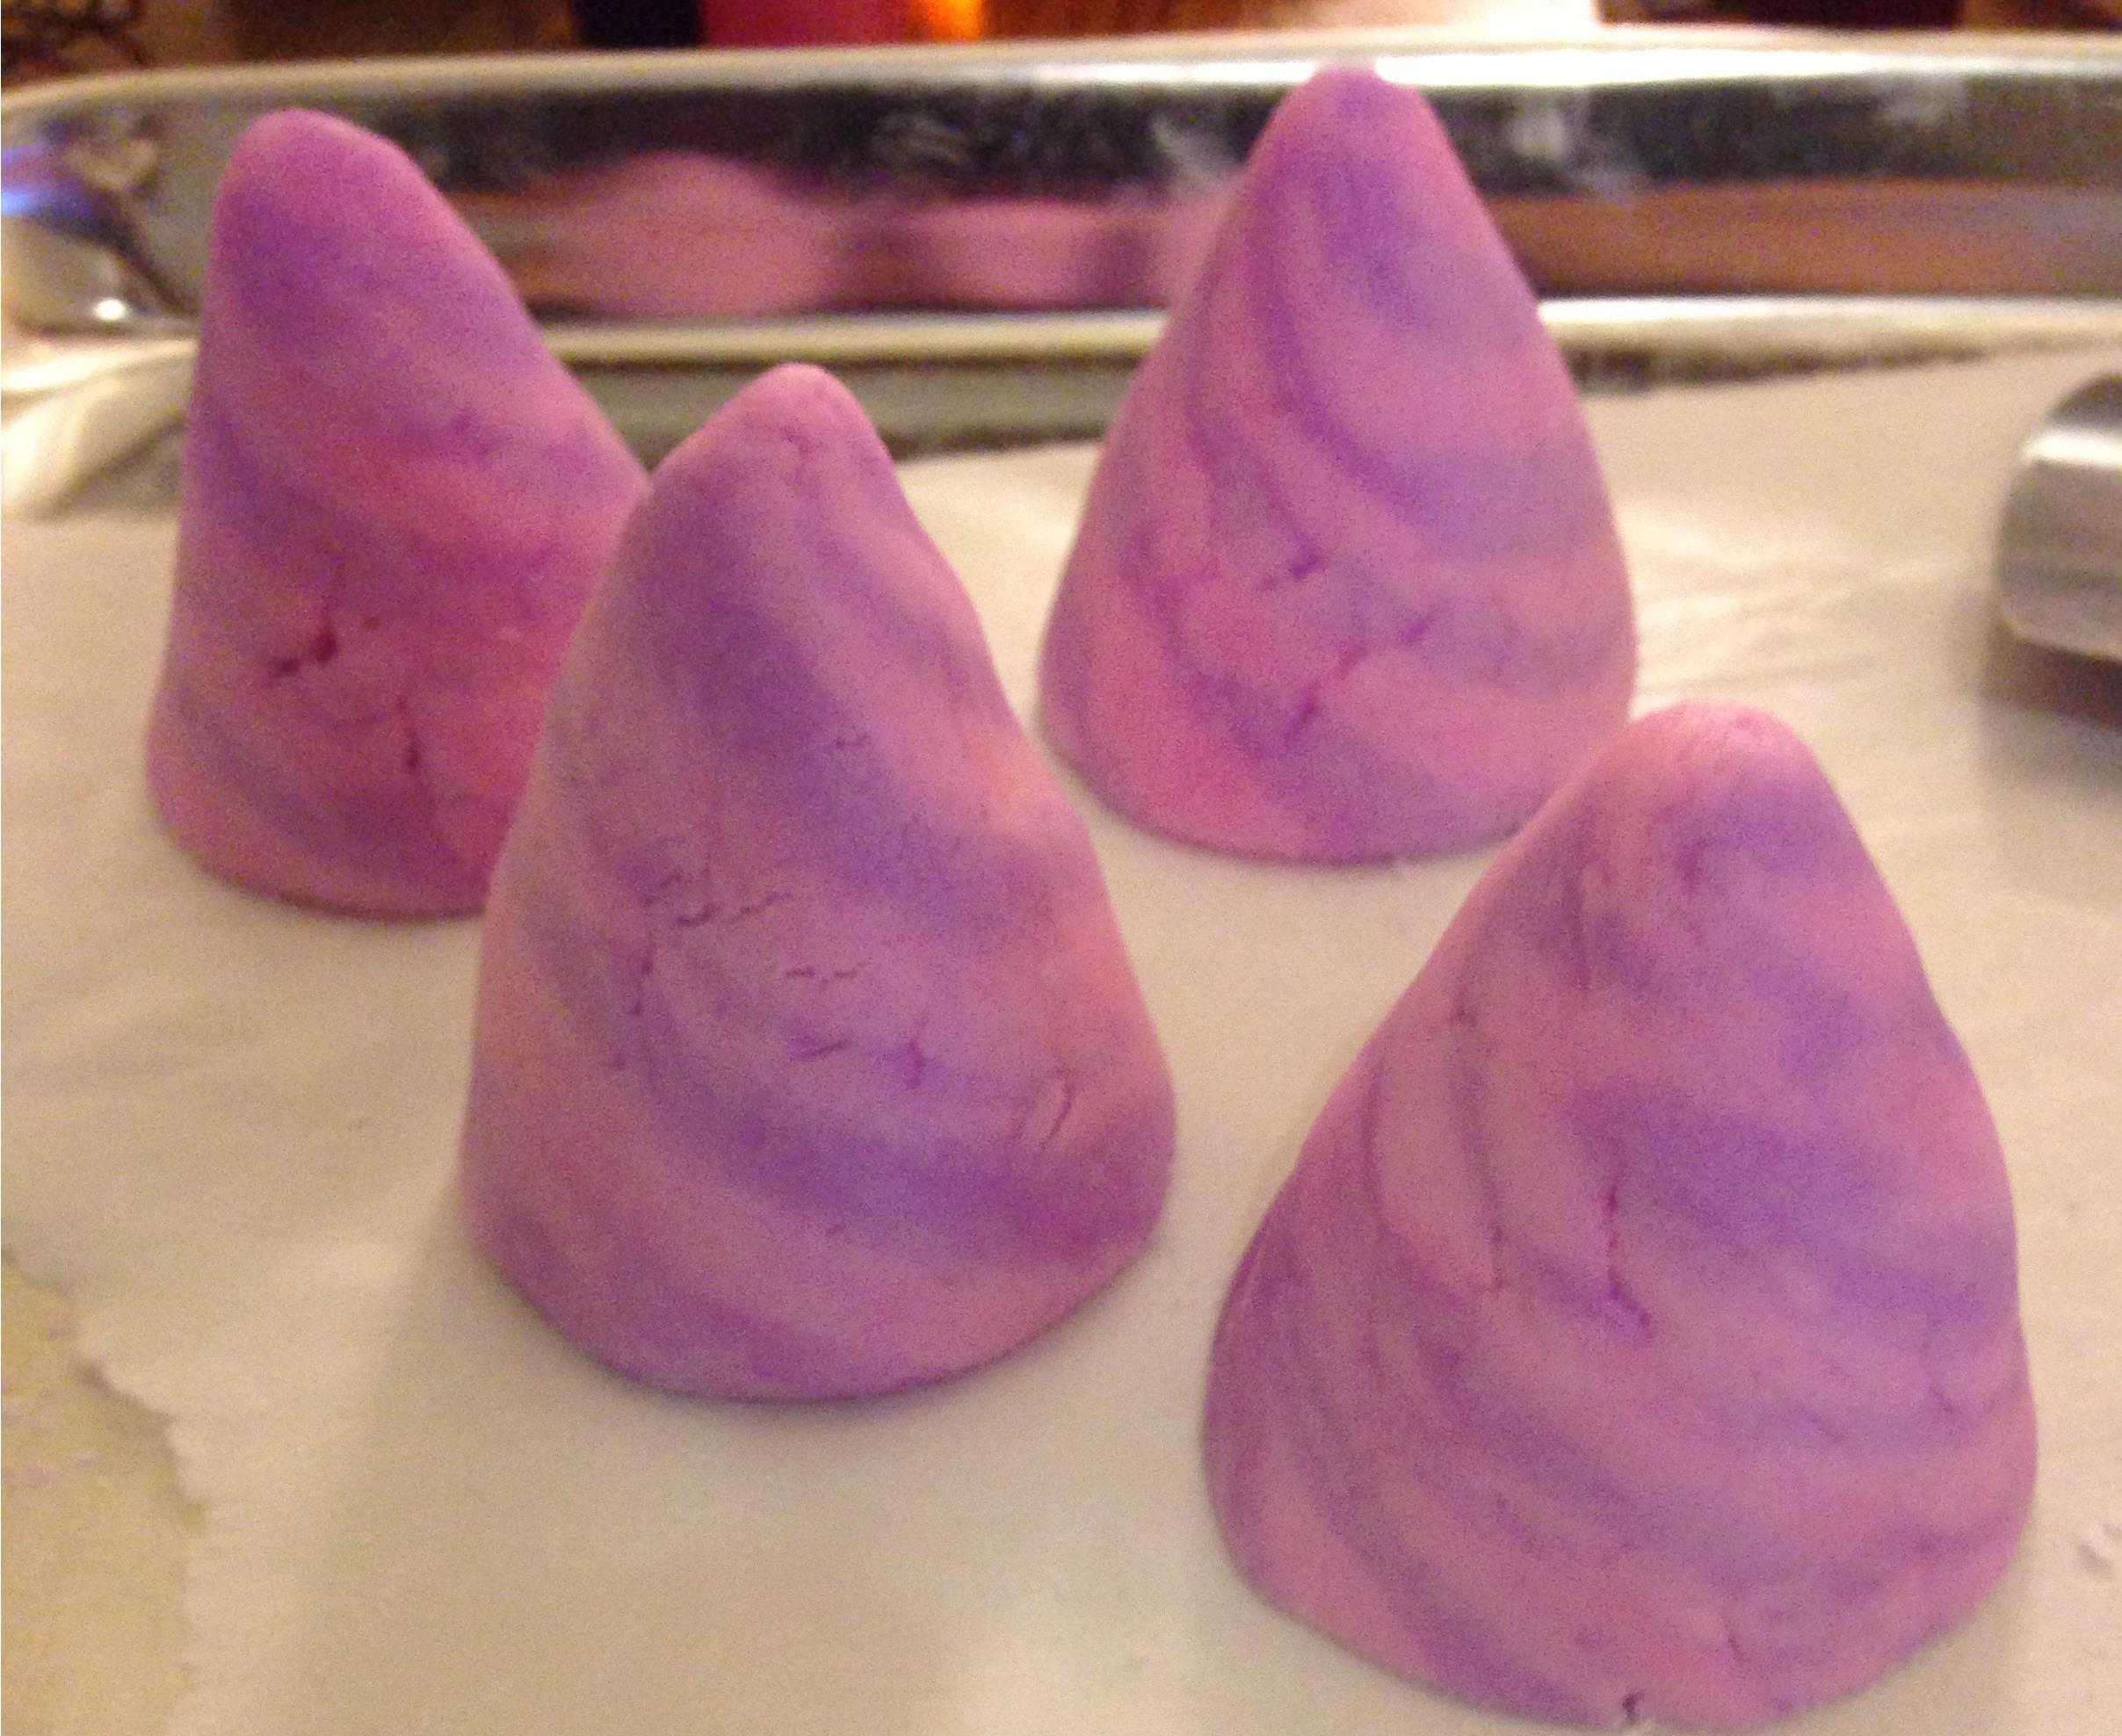
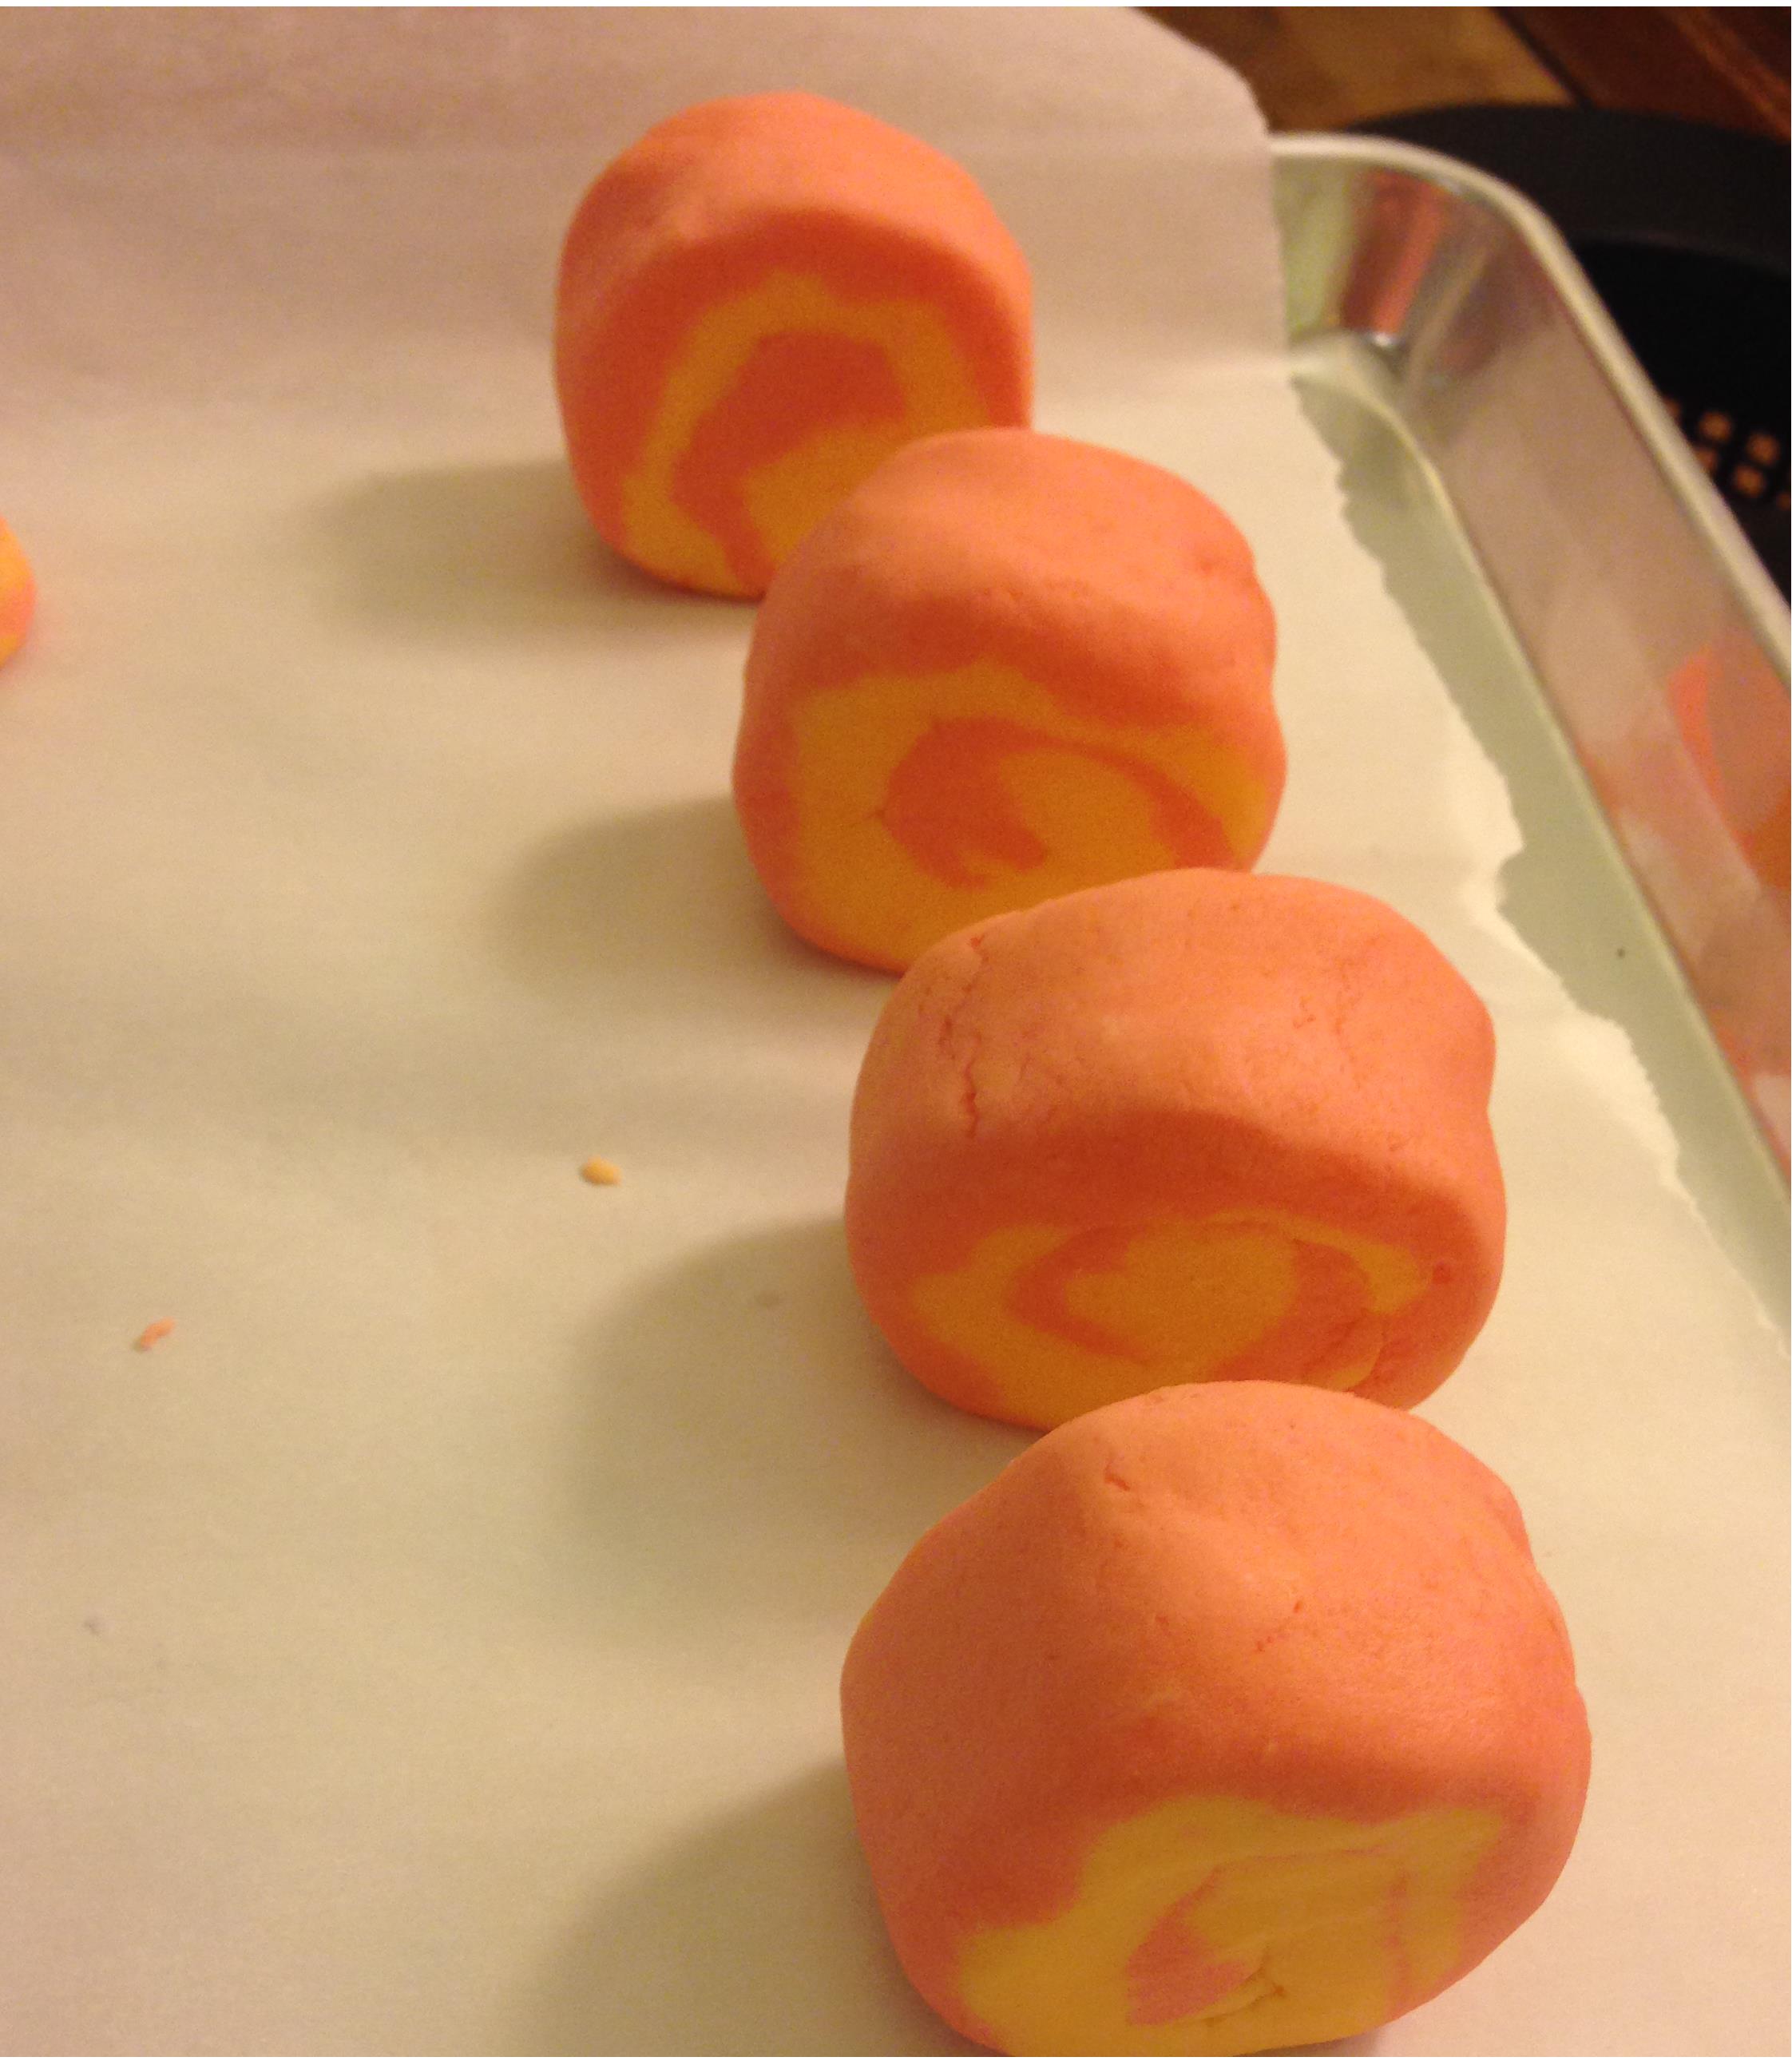
It ended up giving a smoother finish on the surface versus that texture look when first cut. Some people prefer the texture, some like it smooth. You can achieve a smoother cut texture if you allow your bubble bar log to rest for a while before you cut into it.

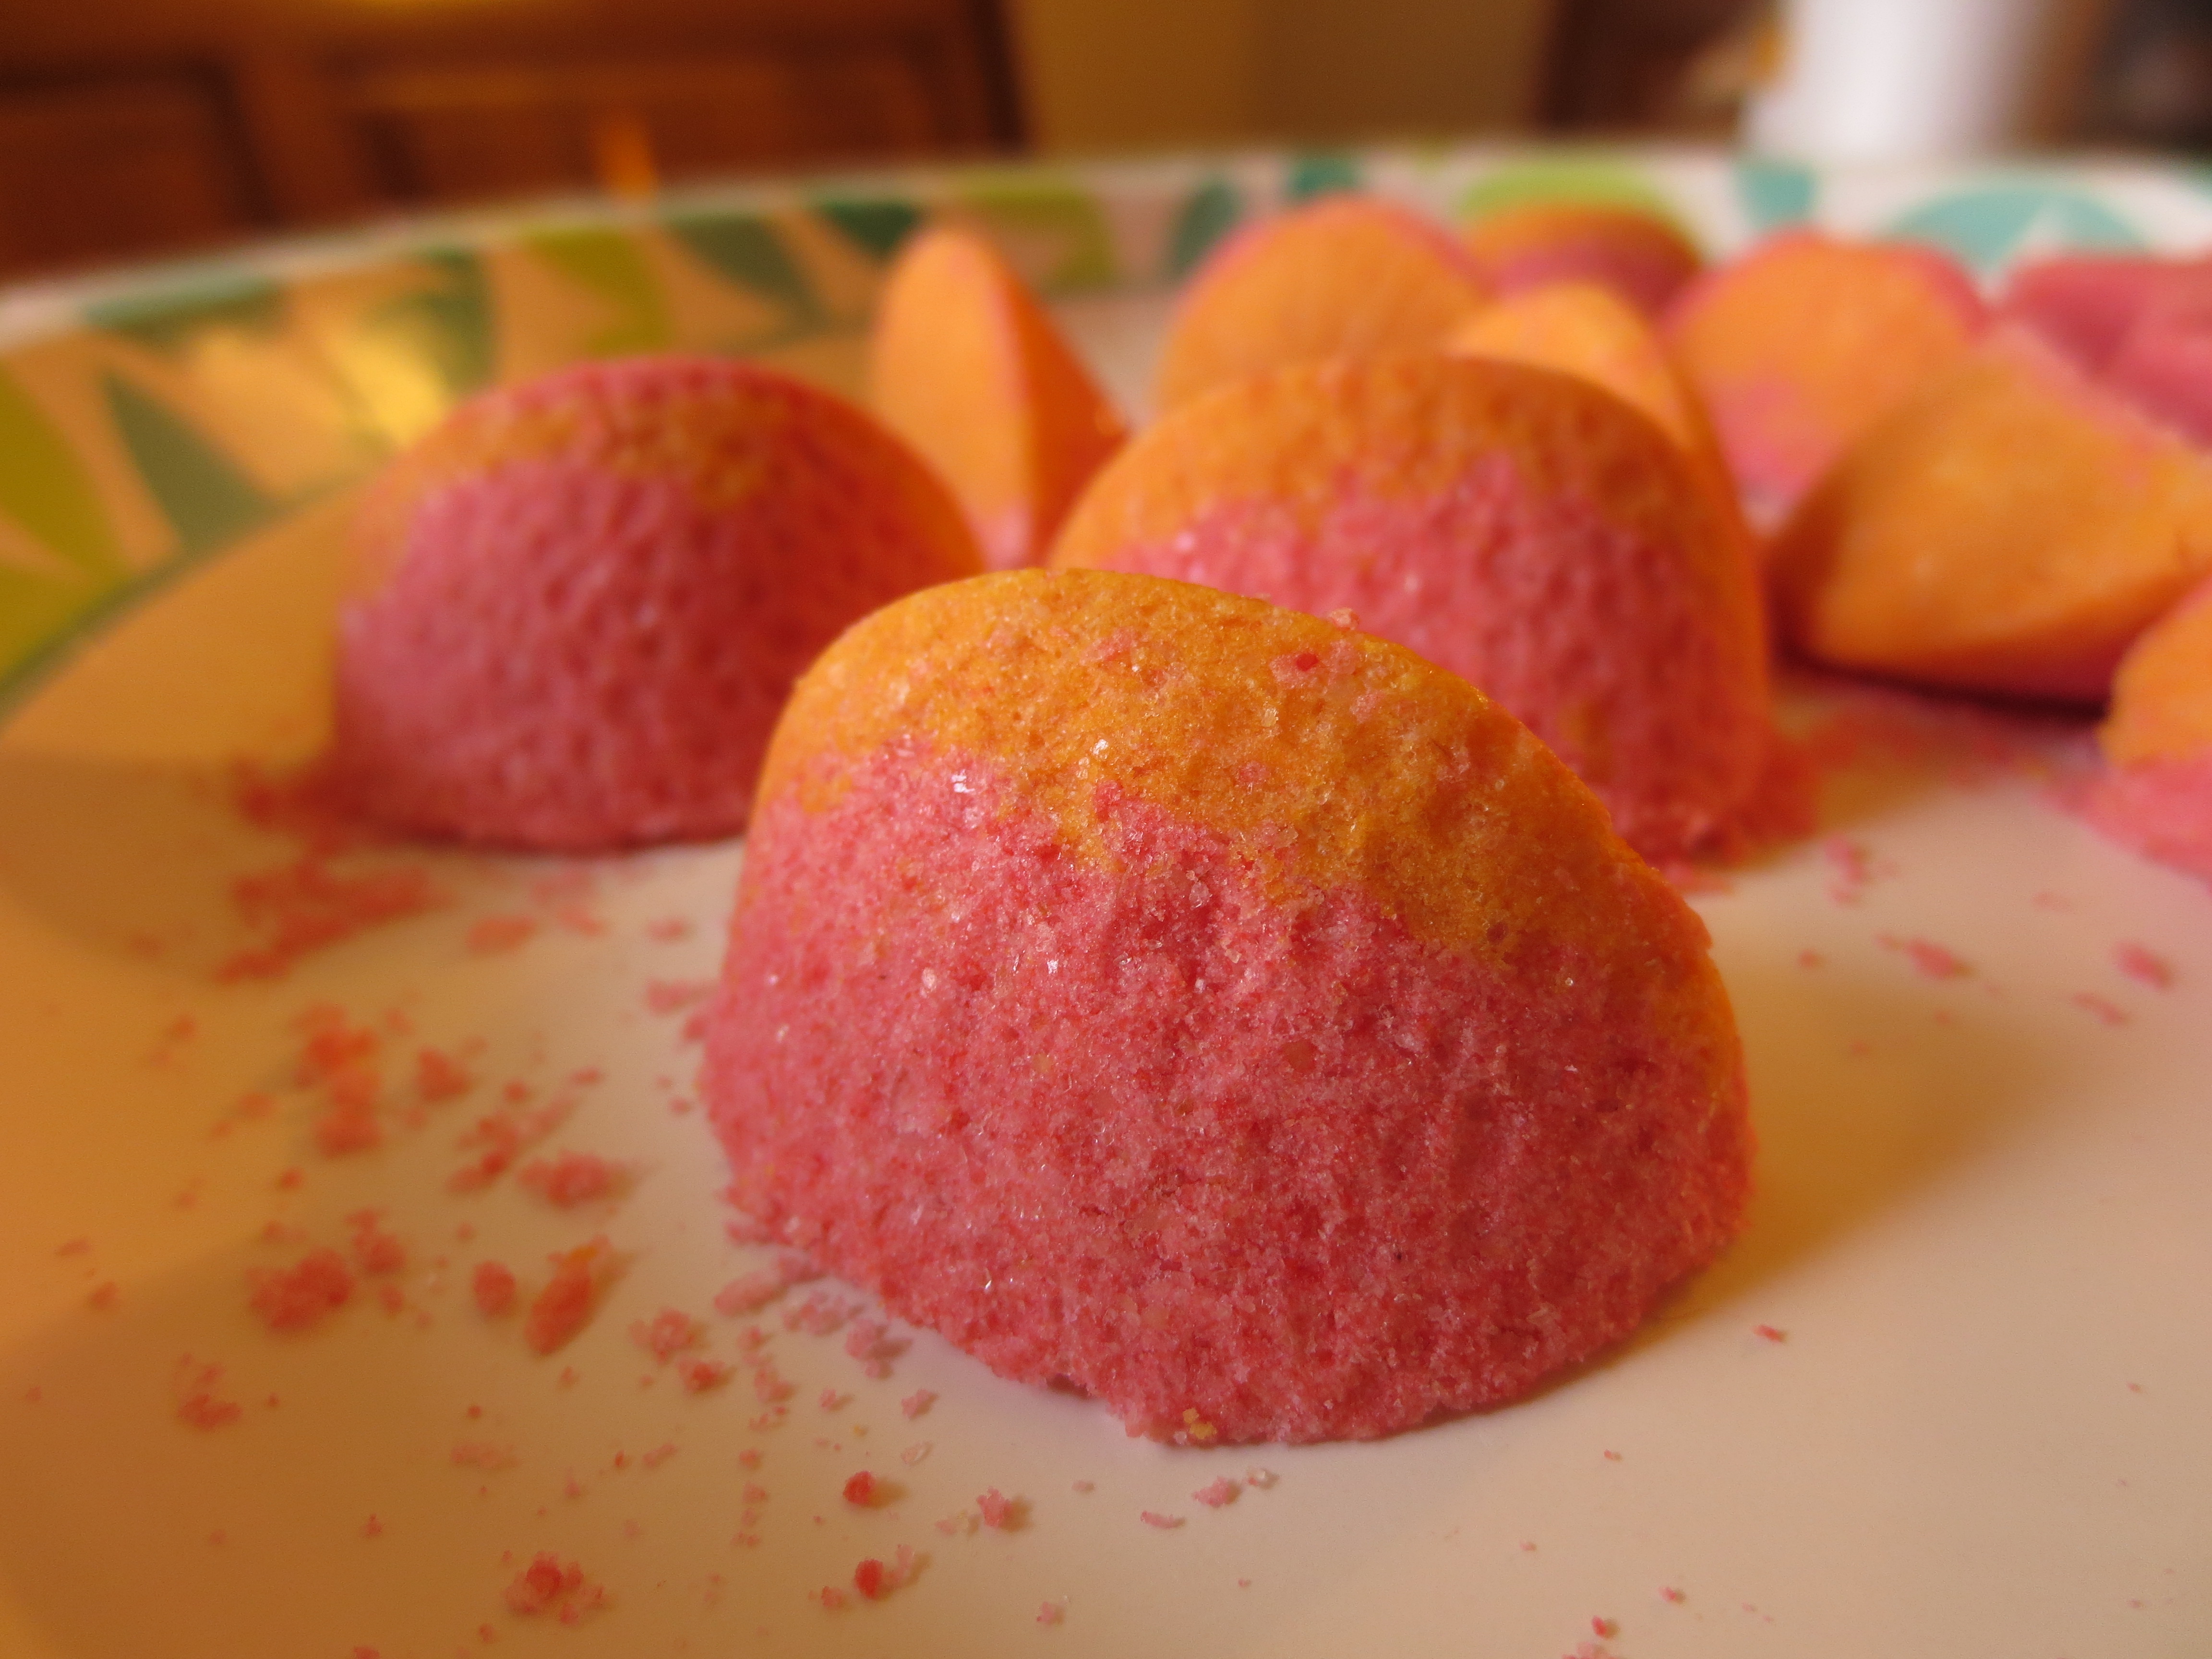
I made two batches using this recipe – one using 1 ½ cups of SLSa and the other using just 1 cup. Both batches have been drying for a few days now and look a million times better than my first attempt. The outside of the bars have hardened up with just a negligible amount of glycerin sweat on the bottom. It probably is just the humidity in the air since it’s been raining on and off. Sprinkling baking soda on your surface where the bars dry will help absorb any glycerin sweat. They are nowhere near the blobby mess I had before.
New_4 IMG_0171I can tell the bars haven’t fully cured because there is still some give in the center when I push in. I’m hoping these ends up curing to a Lush like texture where it’s hard enough to with stand normal interaction but soft enough that you can still crumble it into the bath. Right now, I would probably be satisfied since I could crumble it into the bath without a problem, but the exterior isn’t as hard as I would prefer. I’m going to give them another day or so before testing in the bath.

-vmak

Bubble Bar Adventures Part One

Let it foam! Let it foam! Can’t hold back these bubbles anymoreeeee.

Yea, I had to be lame and use a Frozen reference. Don’t pretend that you don’t blast that “Let It Go” song in your car when no one is around and sing with your hands in the air like you really mean it….ok maybe it’s just me. I digress.

So for the past couple of weeks I have been obsessed with DIY bath projects and currently, bubble bars are the bane of my existence. I’ve pretty much become obsessive with reading forums and blogs and whatever else I can find on how to create these little bars of joy.

I guess I should start with explaining the little bars of joy to everyone. Bubble bars are solid bubble bath bars that you can crumble into your bath which will produce a plethora of bubbles. You can add in moisturizing oils, essential oils, colorants and what not to create a luxurious bath experience. Some people make bath truffles which are a combination of bath bomb, bubble bar, and bath melts (we’ll get into these later). These bubble bars seem to have longer lasting bubbles and have the added advantage of essential oils which contain therapeutic functions. Sure, you can drop some oils into your normal bubble bath mix, but somehow I just don’t think it’s as exciting as crumbling an oz. of these bars to create a tub full of long lasting foamy bubbles.

The problem is bubble bars from Lush are pretty pricy in my opinion. A bubble bar alone would cost you ranges from $5-10. And honestly, combined with the price of a bath bomb, who is that balling to take $10+ baths all the time? Certainly not I. With that in mind, I set out on my bubble bar adventure.

After sifting through all the information I could find online, I narrowed it down to 3 different recipes. The base ingredients were very similar but the chemical reaction part of the recipes differed. Now, let me disclaimer myself and say that I am no professional soap maker nor am I a chemist so bear with me as I go through this process.

Thus far, I have tried 2 of the 3 recipes. The third recipe most closely resembles the ingredients from Lush, but it also contains some chemicals I just didn’t have on hand so I haven’t tested that recipe just yet.

Many of the recipes you find online contain either Sodium Lauryl Sulfate (SLS) or Sodium Lauryl Sulfoacetate (SLSa). These are the chemicals that create the fluffy clouds of bubbles everyone wants in their tubs. Lush uses SLS which many people try to avoid because of their skin sensitivity. There has also been a lot of research done regarding the dangers to your health when using SLS. According to the Environmental Working Group’s Skin Deep Cosmetic Safety Database, SLS is a “moderate hazard” that has been linked to cancer, neurotoxicity, organ toxicity, skin irritation and endocrine disruption. I am up in the air about the whole issue but I also assume that if Lush is using it and is making millions of dollars, that you can probably use SLS if you really wanted to.

SLSa is a milder chemical that is actually derived from coconut and palm oils and is considered of natural origin. Many people prefer SLSa over SLS because it doesn’t penetrate your skin cell which means less likelihood of any allergic or skin sensitivity. SLSa will create a lather that removes surface oil, dirt, and bacteria without stripping your skin. Most of the recipes I found used SLSa so I went with that.

The other ingredients I found that were common in most recipes were:

Baking Soda
Cream of Tartar
Corn Starch
Essential Oils
Glycerin
Tapioca Powder

The first recipe I tried was from SoapQueen.com. You can find it here:

I had high hopes for this recipe since she does call herself the Soap Queen and had some pretty good reviews. One downside is that her original recipe is by weight which I thought at first would be more accurate, ended up working to my disadvantage. Personally, if I was to try her recipe again I would go by measurements. When I measured everything out by weight, it definitely did not equal out to her measurements given.

7 oz. Liquid Glycerin
1.8 oz. Castor Oil
0.7 oz. Celestial Waters Fragrance Oil
10.1 oz. Baking Soda
7.4 oz. Cream of Tartar
2.7 oz. Corn Starch
0.6 oz. Modified Tapioca Powder
5.8 oz. SLSA (Sodium Lauryl Sulfoacetate)
12 mL Diluted Emerald Lab Color
15 mL Diluted Blue Mix Lab Color

Or by measurement

1 cup Baking Soda
1 cup Cream of Tartar
1/2 cup Cornstarch
1 tablespoon Tapioca Powder
1 1/2 cups SLSA
1/3 – 1/2 cup Glycerin
1 tablespoon Castor Oil
2 tablespoons Celestial Waters Fragrance Oil

The problem I found with the weight recipe was that 7oz. of glycerin by weight was way too much and ruined my bars. This may not always be the case because the level of humidity in your area will play a role in how much glycerin you need. Glycerin is a humectant which means that it will automatically attract the moisture in the air.When I first rolled out the bars, the dough seemed a little too wet and squishy but Anne Marie mentioned in her video that the dough would be sticky. I figured they would dry out in the curing process but I was very wrong.

image2My bars looked fine when I initially cut them and put them out to dry but by day 2, the bars turned into piles of wet/dry sand…kinda looked like Thing from Fantastic Four. The sides that were touching the parchment paper started oozing out liquid which turns out to be called “glycerin dew” by soap makers. I’m just going to say that the bars were sweaty. I did read in the reviews that people did have some sweating issues with their bars and that maybe it could be remedied by just allowing the bars to cure longer.

image1And so I waited. 4 more days go by and the bars have lost more of their shape and have turned into little mounds of blue and purple wet/dry sand. I couldn’t take it anymore and decided that I would fix these bars somehow since I used the most expensive essential oils I had on this test recipe. Next time I test a recipe, I’m going with the cheapest throw away oils I have on hand.

To remedy this blobby bar situation, I decided I would just smoosh all the bars back together into one big dough ball and add more dry ingredients to combat the high amount of glycerin. I didn’t measure and kinda just kept sprinkling different dry ingredients based loosely on the ratios that were given in the original recipe until I got dough that I felt would be more moldable and less like marshmallow fluff. I ended up adding a little over half of its own weight back in dry ingredients to combat all that glycerin.

image3 image4The bars are curing again now and are on day 2 of the curing process. So far, the bars look a million times better and are holding their shape. Whether they may contract the dreaded glycerin sweat is still out for debate but I have faith that these will have more of a Lush like texture.

Keep in mind that if you try out this recipe, and your bars get sweaty, they are still usable even if they are a wet blobby mound. You just won’t get the fun of crumbling it under the water. I took a small piece of the dough and threw it into a bowl when it was still wet just to see if it would make bubbles and was I surprised. I looked like a little kid who just discovered science or something.

I’ll update you guys on how they turn out!

TTFN

Bubble Bar Posts to Come!

So I wrote a couple of bubble bar recipe reviews a couple of months back but never got around to posting them. I had a few legit reasons such as my proofreader disappeared, the humidity in my house got wayyy too high to make more for process photos, and most importantly, I STARTED ANOTHER HOBBY! I know, I know. Do I really need any more hobbies?

Answer: Yes. This bitch has decided she is taking her creative talents and crafting to the lovely world of soap making. I’ll update you guys on those adventures shortly but for now, here are my bubble bar adventures. My apologies for the delay in posting but at least after a few months, I can give you a legit update on how the bars did over time and their performance.

Toodles!

Etsy Store Open

My Etsy store is finally up and running! I’ve got a few products on there so far, but there will be more coming soon. Items are handcrafted by me with the exception of my vintage finds. I plan to put a variety of different products up which include vintage Pyrex, bath and body products, home goods and more. Currently, the store will be focused on bath and body products.

If you would like to request a custom order, just contact me on Etsy or here.

http://www.etsy.com/shop/makswaghome

Oatmeal Bath Bombs

IMG_0402
Bath Bombs. Yes, Bath Bombs.

I started looking into Bath Bombs (bbs) because my friend, Lee Rong, had asked me to craft some home beauty products for her. Naturally, I got a little curious since I have never heard of such a thing. Standard procedure of any 20 something year old was to automatically Google “DIY bath bombs” which came back with a bunch of different recipes and YouTube videos on Lush Bath Bombs. Looks like Lush has got the market down for these bad boys (Ha that can also be what bb stands for).

BBs are basically balls of baking soda and citric acid combined with beneficial ingredients for skin such as Epsom salts, kaolin clay, corn starch, oatmeal, essential oils, etc. that you drop into your bath water. They fizz up and then release whatever oils or color into the water. The ingredients you add to the baking soda and citric acid is what provides the skin benefits to these balls of wonder.   You can really add anything you want into these as long as you make sure you have the right ratio of baking soda to citric acid to ensure for a good fizz.

IMG_0384 The first bb recipe I came up with uses oatmeal as a binder along with Epsom salt. Most of the recipes I came across used corn starch which I felt was just a little weird. Maybe it’s just the Chinese in me, but I feel cornstarch+ water = gravy thickener and I just don’t want that in my bath. That’s not to say that corn starch doesn’t have its benefits but I noticed none of the Lush bombs used corn starch.

So I thought to myself, what can I use that is fine and powdery but also provide awesome skin benefits without weirding myself out too much? OATMEAL!

Oatmeal has been used in beauty products forever so I see no reason why you shouldn’t use it in a bath bomb too. Oatmeal can be used to treat acne, dryness, moisturize and relieve itchiness, skin lightener, and natural cleanser. I’ve seen some recipes that just mix whole pieces of oatmeal into their bath bombs which makes them look kinda like powdery granola balls and powdery granola balls do not look as cute as those Lush bbs with surprises and glitter, hence, the use of my handy dandy coffee grinder that I use to turn whole oatmeal into oatmeal flour.

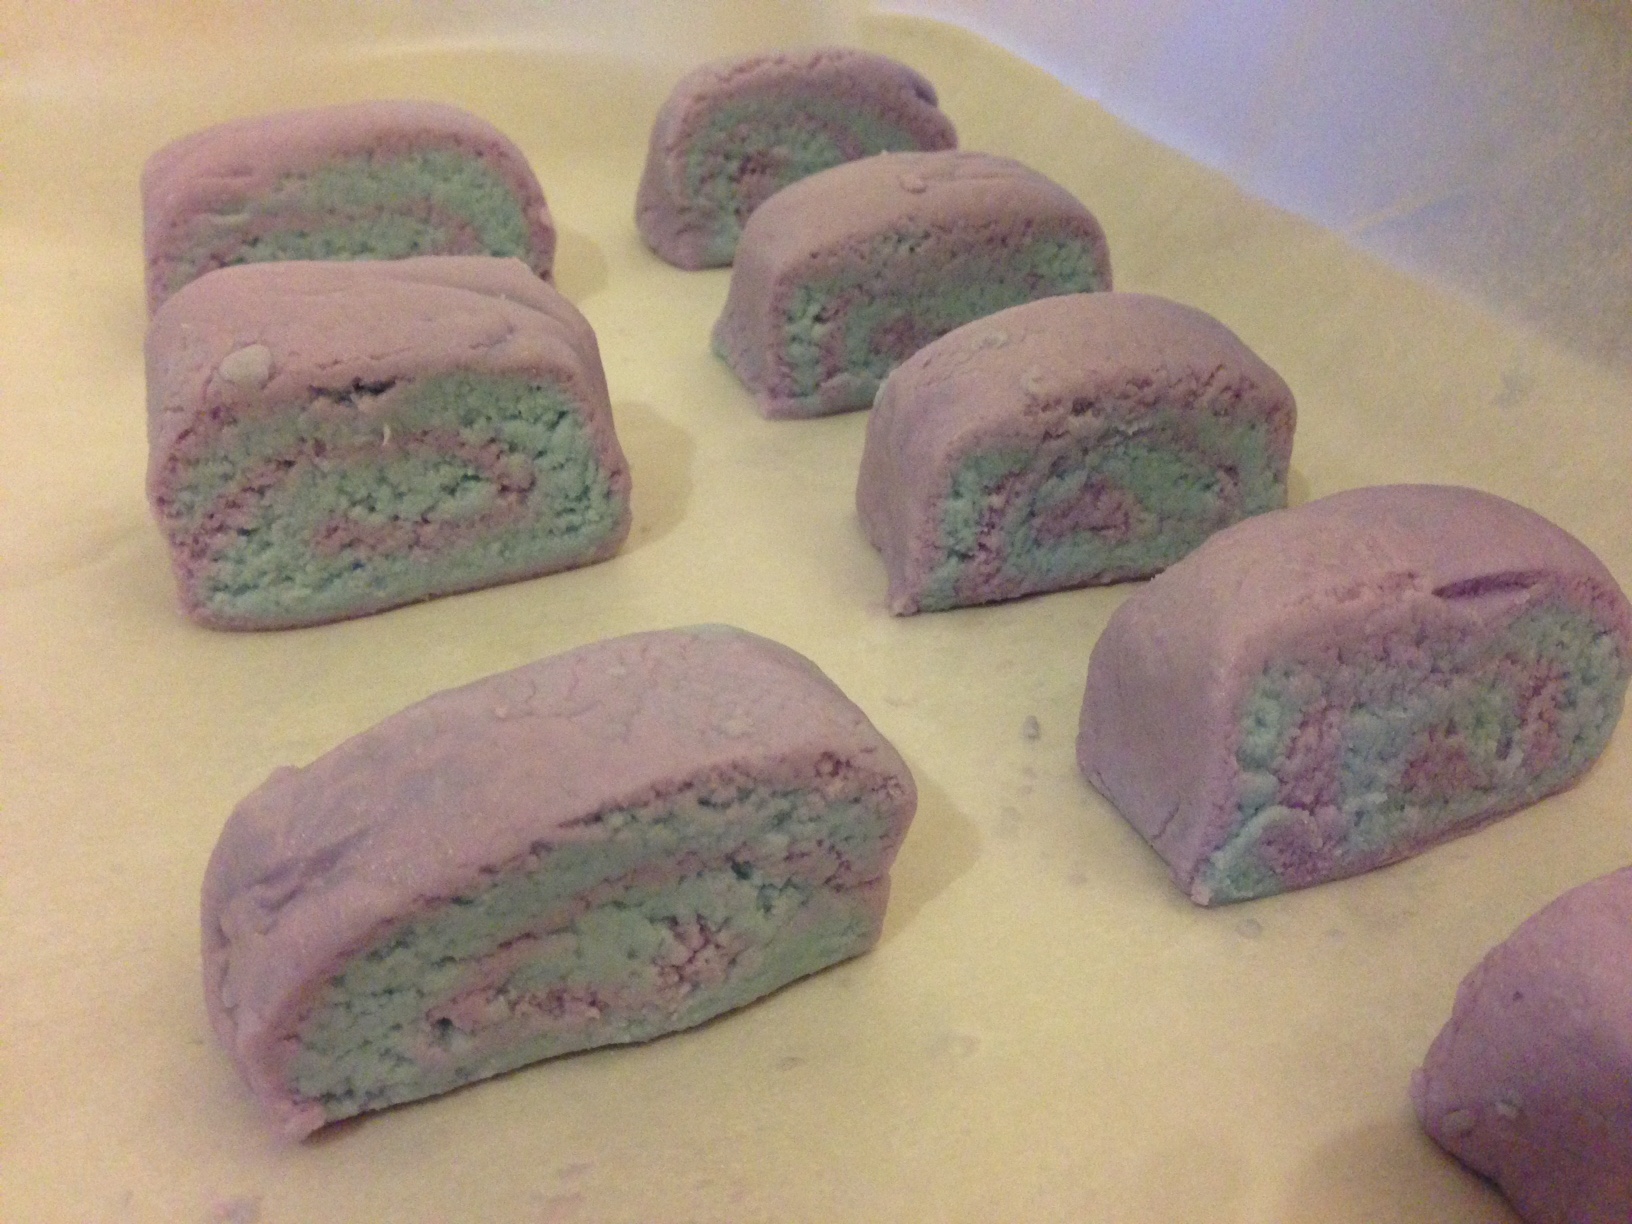
Epsom salt is also used because it’s great for relaxing the nervous system, curing skin problems, soothing back pain and aching limbs, easing muscle strain, healing cuts, treating cold and congestion, and drawing toxins from the body. It also helps bind these balls together.

IMG_0385IMG_0415Throw in some essential oils and moisturizing oils such as coconut, avocado oil, jojoba oil, sunflower oil, etc. and we have bath bombs!

IMG_0404The hardest part about making bath bombs is the moisture content. Too little water and your bombs will crumble and fall apart. Too much water and the citric acid and baking soda reaction will occur and your bombs won’t fizz and will just be growing balls of oatmeal that sink to the bottom of your bath. To combat that, I suggest using a spray bottle so that you can lightly mist the mixture until it clumps together almost like wet sand. Some people suggest using witch hazel instead of water because the witch hazel won’t cause a reaction as quickly. I didn’t have any on hand so I just went with water.

IMG_0416IMG_0417IMG_0419

Coloring the bath bombs is completely optional and some people may just prefer the plain ol’ white. I, on the other hand am obsessed with the idea of colored baths and have used both food coloring and soap colorants. I learned from the soap lady I get my colors from that all she really does for gel colorants is mix the mica powders with some glycerin. If you plan on making this a hobby, you may want to look into just mixing your own gel colorants. Mica powders are extremely strong and a little goes a long way. You are at a higher risk of staining your tub with mica powders than food coloring.

IMG_0396 IMG_0398 IMG_0399 IMG_0400IMG_0407You can use a multitude of different molds to personalize your bath bombs. I’ve experimented with silicone which gave me those awesome little orange/pink slices and even used an ice cream sammich mold for that heart. I think plastic molds work a little better than silicone. The plastic gives a harder surface to compact your bath bombs against and you really wanna pack the mixture in. Silicone molds work but are a little harder to get the pieces out, especially if they are super detailed. You may end up ruining some of the details if the mixture isn’t just the right texture. Just look around the house and get creative with it. You would be surprised by what you can use to shape these things. I’ve even used cookie cutters!

 With all that being said, here goes the recipe.

 Oatmeal Bath Bombs

1 cup baking soda
½ cup citric acid
½ cup Epsom salt
½ cup ground oatmeal
3-4 tablespoon coconut oil (you can substitute any of the oils listed above such as almond, sunflower, jojoba, avocado, or even do a combination)
1 tsp essential oil (whichever scent you prefer)
2 tablespoon water or witch hazel (you won’t use all of it)
Food coloring (optional – amount depends on whether you want your bath to be really colored)

  1. Combine baking soda, Epsom salt and ground oatmeal into a bowl. You can sift the ingredients if you want to make sure there are no clumps but I just like to run my hands through the mixture. If you have clumps, you will get little tiny warts on your bath bombs which won’t be pretty.
  1. In a separate bowl, combine coconut oil and essential oils.
  1. Slowly mix in your wet ingredients to the dry ingredient mixture. You will want to do this slowly as to not activate the baking soda. If you want to color your bath, add some drops of food coloring into the mixture as you combine the wet and dry ingredients. Keep in mind that however much color you add will be transferred to your bath water. If you want a really vibrant color in the tub without dyeing yourself with food coloring, you can purchase special colorants that are used for bath bombs.
  1. Add in the citric acid into the wet/dry mixture and combine evenly. I like to add this more towards the end to try to minimize any baking soda/acid reaction that may occur while mixing in the wet ingredients. I noticed they also did this on the Lush manufacturing videos.
  1. If your mixture is not moist enough that it clumps together in your hand like wet sand, lightly spray the mixture with water or witch hazel, one spray at a time to make sure that you don’t over moisturize the ingredients. There is no set amount of water you will need to add as humidity in the room can affect the mixture.
  1. Once the mixture is able to clump together, you can start filling your bb molds. I use plastic ornaments that come apart and I like to use two different colors. You can fill your bath bombs with whatever kind of design you would like, just make sure to pack it in tightly. I mean really squish it in there. The more compact it is, the more fizzies you will have in the bath.
  1. Let your bombs sit in the mold for a few minutes and then slightly tap on them to remove the mold. The bombs will need to cure for at least 24-48 hours before use.

Notes

*I used a 70mm plastic ornament from Hobby Lobby for $1.29.

*Depending on how well I compact the mixture into the mold, I get around a 6.5oz bath bomb. I would say this recipe created about 3.5 bath bombs.

*Since you are using hydrating oil in these bombs, your tub may be a little slippery when you get out. Use caution!

*For sanitary purposes, you should wear gloves while making these. If you are using two colors or more, be careful not to accidentally get some of the other colors mixed in together. I like to fill each color all at one time into the balls so I can rinse off my gloves between.

*The first test of this bath bomb did not float. I suspect it is the oatmeal that causes it to sink. I plan on experimenting with other mixtures such as kaolin clay and milk powder. I’ll let you know how it goes. A small leftover bomb I had floated just fine so if you want to keep the oatmeal, just make the bombs smaller and they should float.

*I used less than 10 drops in my mix the first time around and I wasn’t impressed with the color. I wanted a fireworks show. I added more food coloring the next time and the bath had a pretty tint to it without staining the tub. I used at least 12 drops for half the mixture.

Food Porn for the Fat Kid Soul

Happy Friday! So glad the week is over. All I’ve wanted to do these past couple of weeks is work on my Bath Bombs and Solid Bubble Bars. I’ve got a few batches of bubble bars done so we’ll see how they work in the bath. For now, I present to you Food Porn for the Fat Kid Soul. All pictures and food are courtesy of my talents.

10100192940876798

Rosemary Leg of Lamb

10100622338101318

Shrimp and Chicken Chimichangas. They always remind me of Meet the Parents.

10100638905779558

Mozzarella Stuffed Meatballs and Spag.

10100775902631768

Red Wine Braised Short Ribs with Rosemary Goat Cheese Polenta

10100846627269028

Lemon Ricotta Stuffed Zucchini Blossoms

10100901782991518

Coffee Rubbed Tri Tip Panini

10100903187387098

Black Bean Steamed Catfish. Mingo caught the fishy <3.

10101048813700798

Braised Tofu with Roast Pork. One of my favorite things Mingo used to make.

10101120586622288

Tomato Tart turned Deep Dish Pizza

10100850068243288

Red Potato Salad with a Greek dill yogurt base

It’s a Mak Collaboration

It’s a Tuesday and I’ve recently returned to work. It’s rather unfortunate. I sit here contemplating all the things I could be crafting or cooking but alas, I am a prisoner of Azkaban and my soul and happiness are being sucked out of me one Supplies and Expense report at a time.

On a happier note, I have some great news! My little sister, Alex, and I will be joining forces on a weekly basis to bring you guys more updates, pictures, and videos. We recently shot the photos for one of my Bath Bomb DIY’s that I will be posting this week and have plans to turn my extra bedroom into a video set/crafting room. It’s about to be exciting! *Squeals like a school girl*

Alex will also be guest blogging on here from time to time about all things beauty. She is seriously like my go to encyclopedia about makeup and hair. Sometimes she makes me feel super old because I’m so behind on all the latest beauty trends….kinda funny since it used to be the other way around. Oh how the times have changed.

You guys can find Alex at her direct blog at: http://alexmak-eup.tumblr.com/

I’ll be posting my Bath Bomb DIY and food porn from the holiday season this week so be on the lookout.

Peace out Girl Scouts!

Venetian Spaghetti

It’s been quite a while. I know. My apologies.

So this is one of my favorite comfort foods to eat of all time. It came to me randomly one day when I was babysitting my little sister and had to make her lunch with basically nothing in the fridge. I really have no idea how this idea even came about, or why I thought it might be a good idea but it turned out to be one of Alex’s favorite childhood recipes. It kinda makes me happy because she’ll always remember it.

What is this weird recipe? It’s literally a mixture of cream of mushroom and sardines. At first I thought it was just some random recipe I made up as a kid but after some Googling, I found out it really wasn’t that original. My childhood recipe is really a variation of Venetian Spaghetti.

Venetian Spaghetti, I say? Well, it’s basically spaghetti with a sardine cream sauce. Blake Royer from this Serious Eats describes this pasta as “clam chowder on pasta.” While mine is a variation, I would say that Royer has a pretty accurate description. I prefer to make mine with canned smoked sardines just because I like that little extra kick of the smoked flavor. I usually get mine from Trader Joe’s.SardinesOne day I’ll make a version of this recipe from scratch fully, but for now, here is the quick teenager version.

Pasta finished
Ingredients

½ lb. spaghetti or any other pasta you have on hand
1 can of Campbell’s Condensed Cream of Mushroom Soup
½ 4.25 oz. can of lightly smoked sardines – Save about a teaspoon of the oil
2 cloves garlic
1/8 teaspoon of crushed red pepper flakes
1 tablespoon of olive oil
1/8 cup of pasta water
Grated Parmesan to top (optional)
Salt and pepper to taste

Directions

  1. In a large skillet or pan, heat up the olive oil on low heat. Add in the garlic and red pepper flakes. Allow the garlic and pepper to cook for a minute or so until fragrant. Add the smoked sardines and oil from the can into the pan and sauté for 2 minutes so that the sardines break up. Add in the can of cream of mushroom soup and allow the sauce to simmer.
  2. While the sauce is simmering, cook the pasta until a little under al dente. Make sure to add salt and oil to the water. Drain the pasta and set aside. Save about 1/8 cup of the pasta water to add into the mushroom sardine sauce.
  3. Add the saved pasta water into the mushroom sardine sauce and simmer for about 5 minutes. The pasta water will thin out the sauce a little while adding starchy qualities that help the sauce stick to the pasta.
  4. Add the pasta back into the sauce and let it simmer in the sauce for 2 minutes or so. This allows the pasta to absorb the sauce and finish cooking. Salt and pepper to taste and grate some parm on top.

The First of Many Food Porn Fridays!

Well, lookie here, it’s Food Porn Fridays! <–Pineapple Express reference.

All made by me. Enjoy!

913844571058
Chinese stuffed bell peppers

 946977432538 946978615168
Homemade Pizza

988385425588
Pan roasted chicken breast wrapped in bacon stuffed with sage and prosciutto over a bed of cappelini pasta. Smothered with pan gravy.

957138908858 957153010598
Homemade mozzarella. Took 3 tries, but I did it!

10100850072454848
Applewood smoked baby back ribs

10100639352748828 1010074006056455810100639352778768 10100639352808708
Ratatouille

10100883701995978
Seared rib eye with saute mustard greens and freshly shredded horseradish

10100890615755748
Buttermilk fried chicken with collard greens and red beans and rice

The Tale of a Pastrami Sammich Gone Missing…

So, I know it’s been a while since my last post. I recently had a cyst removed from my palm which had rendered me basically useless for blogging. I still can’t type fully, so I’m going to keep this post short and entertaining.

I work in an office of about 100 people and from time to time, getting your lunch stolen like it’s elementary school is common. I mean, I’ve had my coffee mug kidnapped and taken to Mexico as part of an office prank (that’s another story that includes photos that I will eventually share), but never my lunch taken. So you can imagine the outrage when I discovered my pastrami sammich missing from the breakroom fridge.

In response, I decided to pen this little entertaining letter to post on the fridge. I never did post it, but I think you will find this at least mildly entertaining.

Thus, I give you “The Tale of a Pastrami Sammich Gone Missing…”

Hi All,

This is a friendly public service announcement for the employees of Design and Construction Management….WE HAVE A LUNCH THIEF ON OUR HANDS. I REPEAT WE HAVE A LUNCH THIEF IN THIS OFFICE. How do I know we have a lunch thief in the midst? Well, read carefully as I tell you a tale of a lost and scared Noah’s pastrami lunch box.

I adopted this Noah’s pastrami sammich lunch box at 8:45AM yesterday morning. I saw the email sent out and thought I would mosey over to the break room to see if there were any sammiches left unclaimed. To my excitement, there happened to be one lonely pastrami sammich just sitting there on the middle shelf. No name, no note, just sitting there. The sammich called out to me.

“Take me. Don’t waste a good sammich. There’s no name on me. Make me your’s”

Being the good person I am, I decided to rescue this pastrami sammich from a desolate and lonely life inside that grey fridge. I put my name on it, took ownership of it, and carefully tucked the sammich into its little bed inside the bottom crisper drawer. I promised my new found companion that I would be back for it later.

I took that promise seriously, so you can understand my dismay when I returned to pick up my little sammich and my sammich was nowhere to be found. I searched high and low, both fridges, all the shelves. Still no sammich to be found. Where o where could my little pastrami sammich go?

I found out today. I discovered my poor little pastrami sammich box was thrown away in the outside trashcan. My sammich had been kidnapped by someone in this office and consumed without my knowledge. I can’t imagine how it must’ve felt for my sammich to be scared and alone while having some random stranger sink its teeth into it bite after bite. And then to be tossed out after it’s been used and abused. Can a sammich get a little respect here?

As a responsible sammich owner, I think it is only right for me to avenge my sammich’s death.

So to the sandwhichnapper in this office, I hope you know that sammich comes with a high price. High price for a free sammich? Yes, there really is. The high price is called Karma. I hope Karma provides you with an abundance of stomach illnesses in your near future. I hope that you only consume horrible sammiches from now on because you clearly have no respect for the sacred bond between a sammich owner and sammich. I hope that one day you have the most amazing sammich placed in front of you, a sammich so good that it even brings the Texas Ranger to tears, but you won’t be able to consume it. You will only be able to look at it, breathe in its delicious scent, and then watch someone else enjoy it.

May the sammich odds forever not be in your favor.